Work Faster, Do More
Whether you're working in Pipeline view or List view, you can now handle multiple leads at once, instead of managing them one by one.
Multi-Select allows you to select multiple leads at once and take action in one go: you can move, assign, label, bin, or close multiple leads at once. It’s perfect for managing busy pipelines or when you’re reviewing leads in batches.
✨ How Multi-Select Benefits You
Take Action in one go: Select multiple leads at once to perform actions like assigning labels, moving stages, or closing leads.
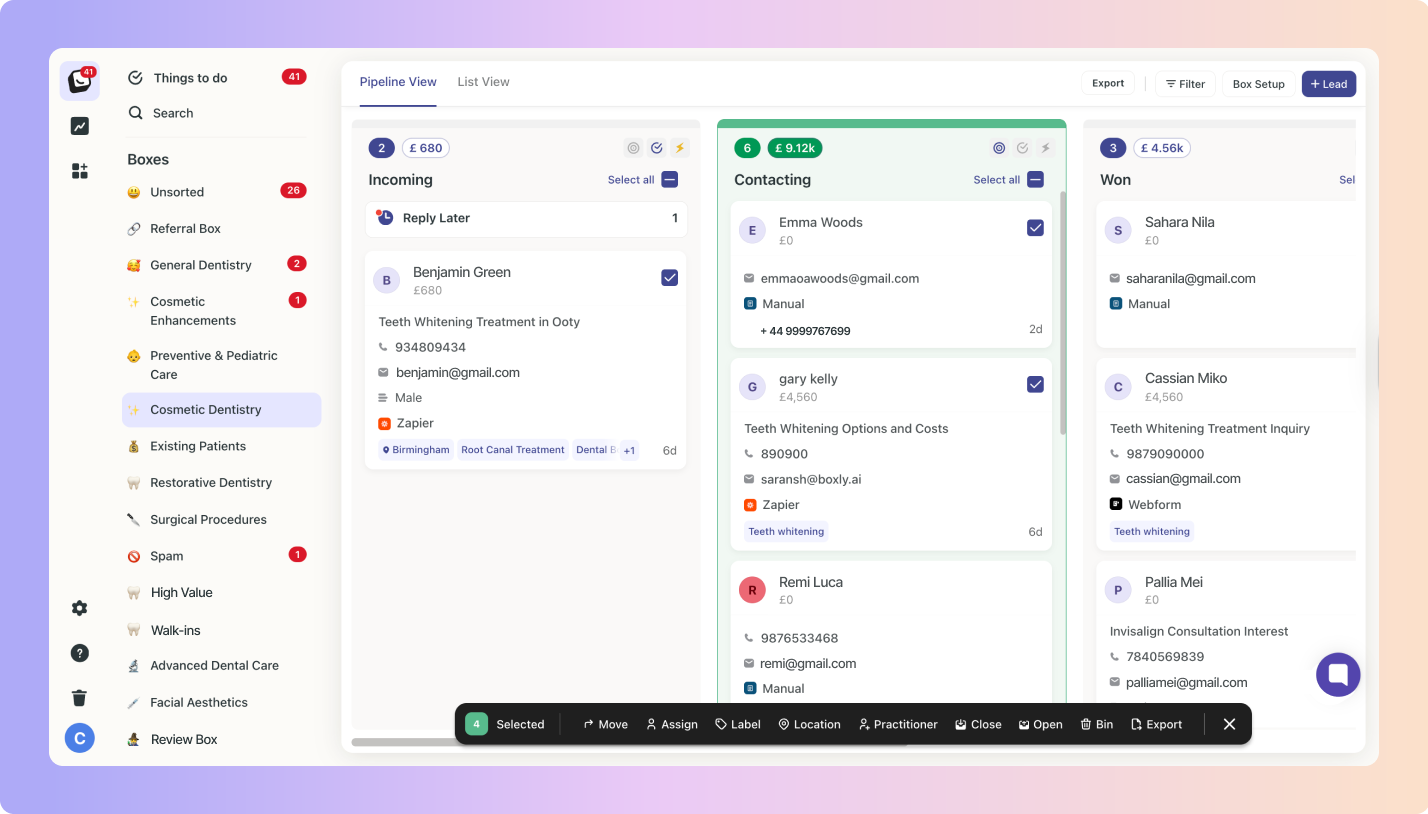
Flexible Organisation: Whether in Pipeline or List view, you can group leads and manage them with more control.
Take Action on multiple leads at once:
✅ The multi-select bar shows how many leads you’ve selected.
✅ After selecting one lead, you’ll see the option to “Select all”.

Here’s what you can do with it:
Move multiple leads to a new stage
Assign multiple leads to a user (overriding previous assignments)
Label multiple leads at once
Assign a Location to multiple leads at once
Assign a Practitioner to multiple leads at once
Export lead data at once
Close multiple leads in one go, when leads are taken care of or are no longer relevant.
Open closed leads in one go
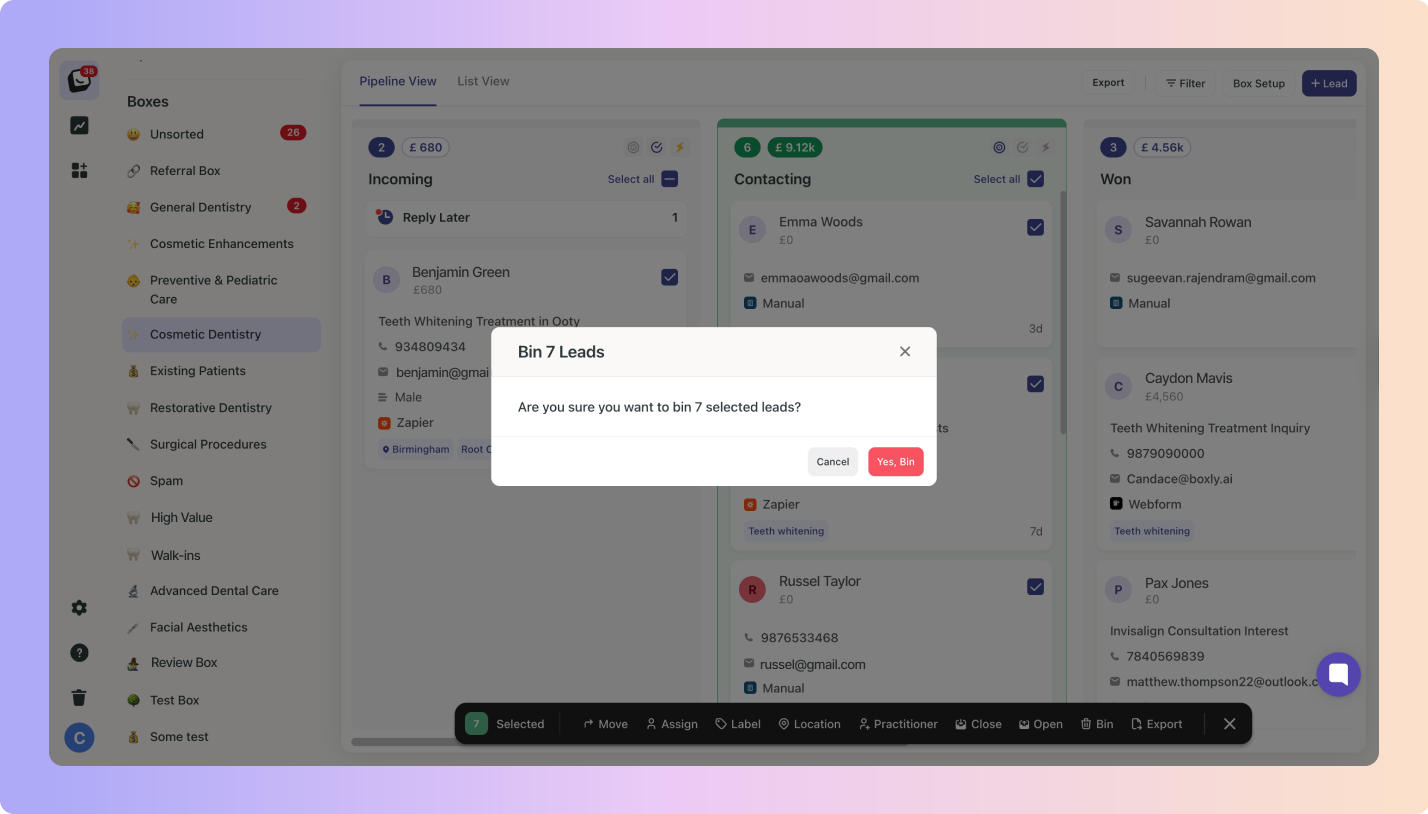
Bin multiple leads in one go
Multi-select tick boxes will appear on the far left. Once you’ve selected a lead, a floating multi-select bar will appear at the bottom of the screen. All action mentioned above will be available.
✅ At the top of the column, if you select the tick box (in the column headers row), all leads in the list view will be selected.
✅ When you unselect one lead after selecting all leads (like said above) the top "Select All" checkbox will be deselected since it’s no longer selecting all.
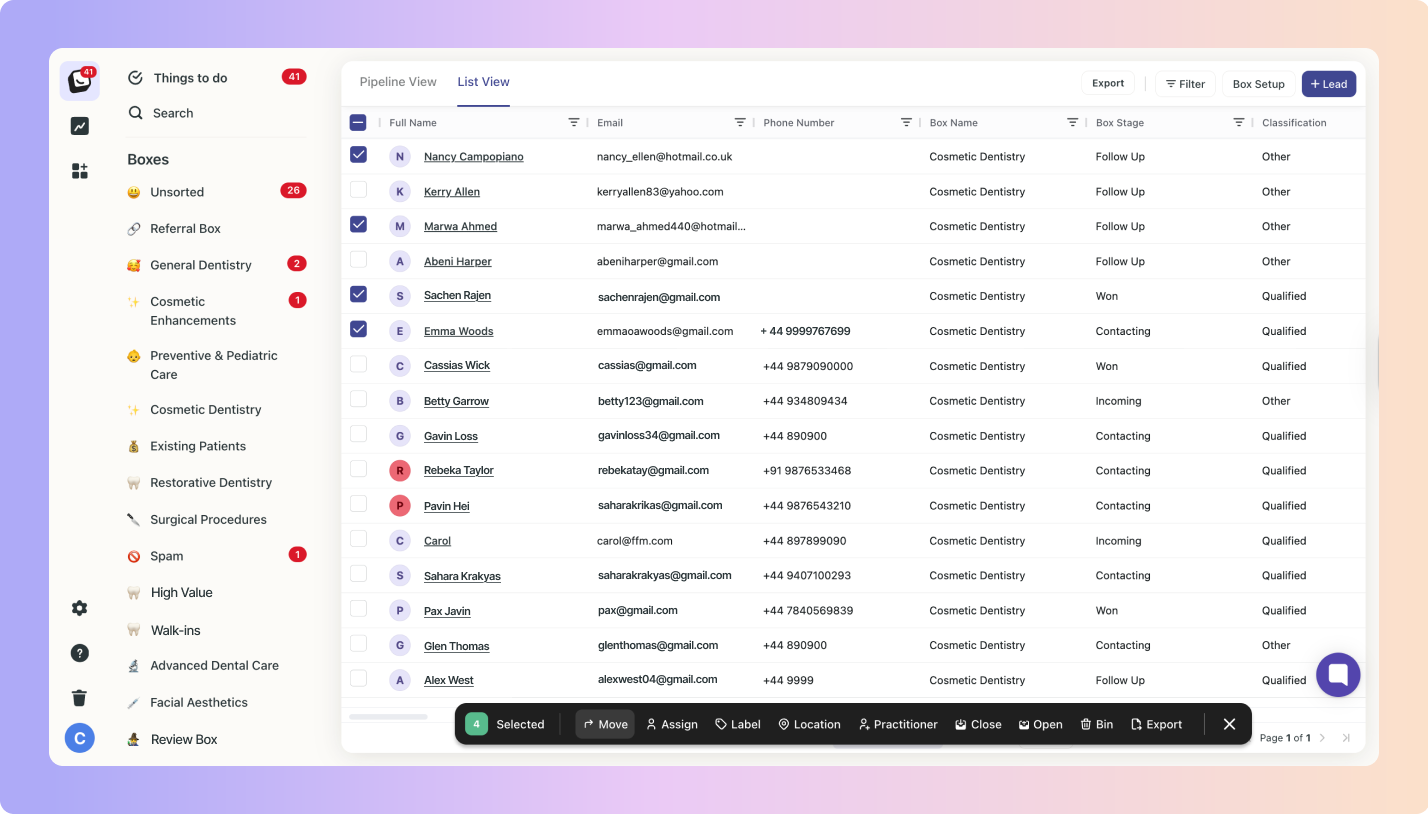
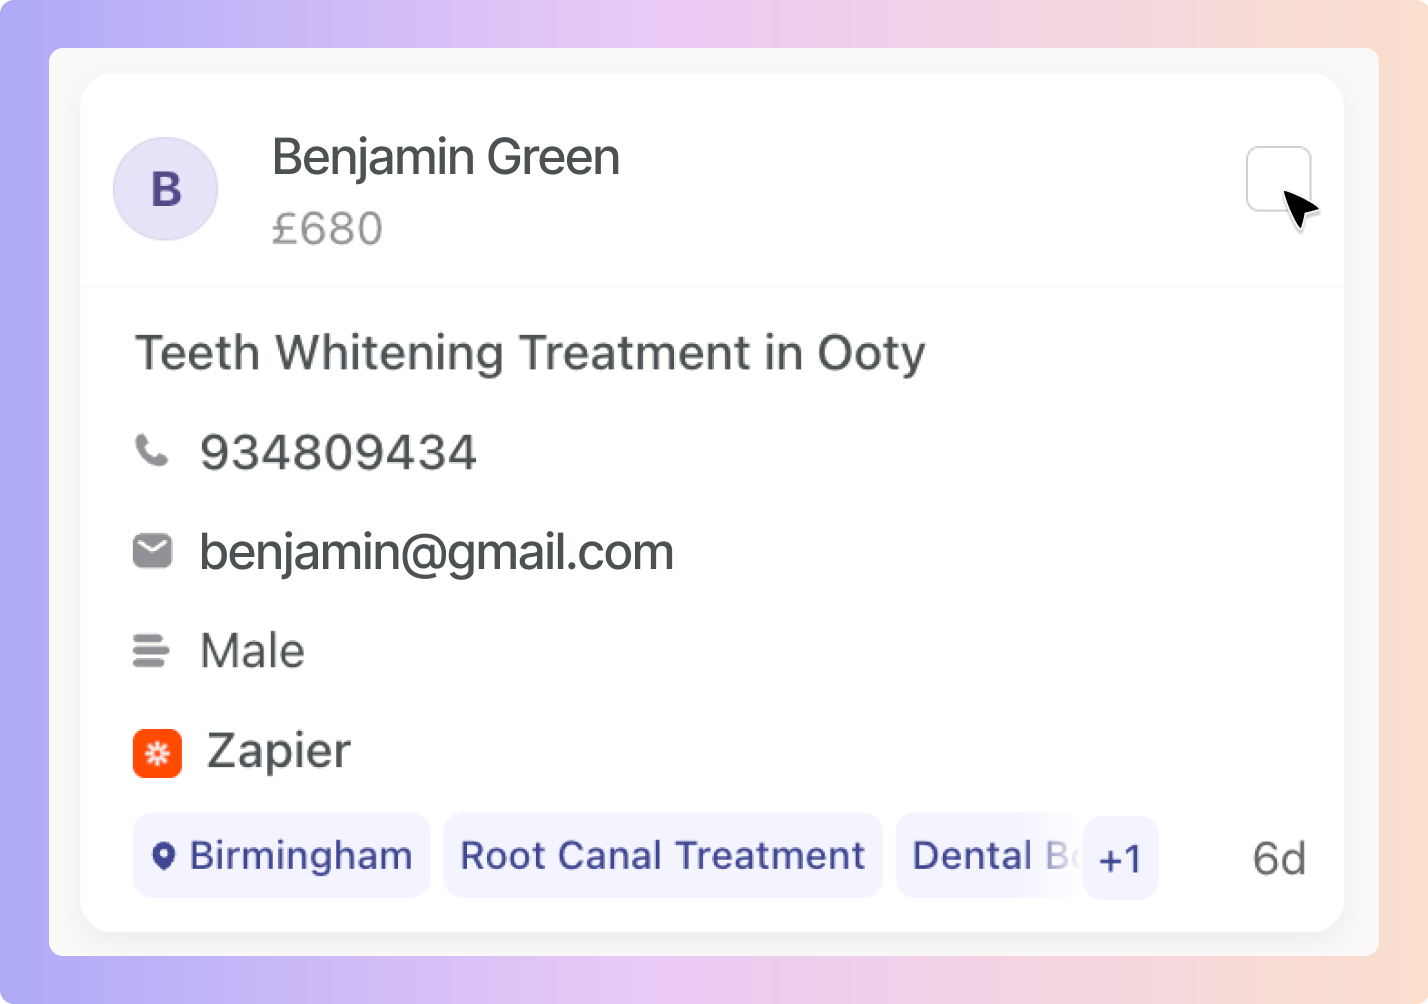
✅ To select leads, hover over the lead card and the tick box will appear in the top right.
✅ Once you select one lead, a section at the top will appear, allowing you to "Select All".
If you select all, it will select all leads regardless of how many are currently loaded.
✅ Your multi-select options bar will appear at the bottom of the screen once you’ve selected a lead.

✅ Select your leads.
✅ Choose an action to take.
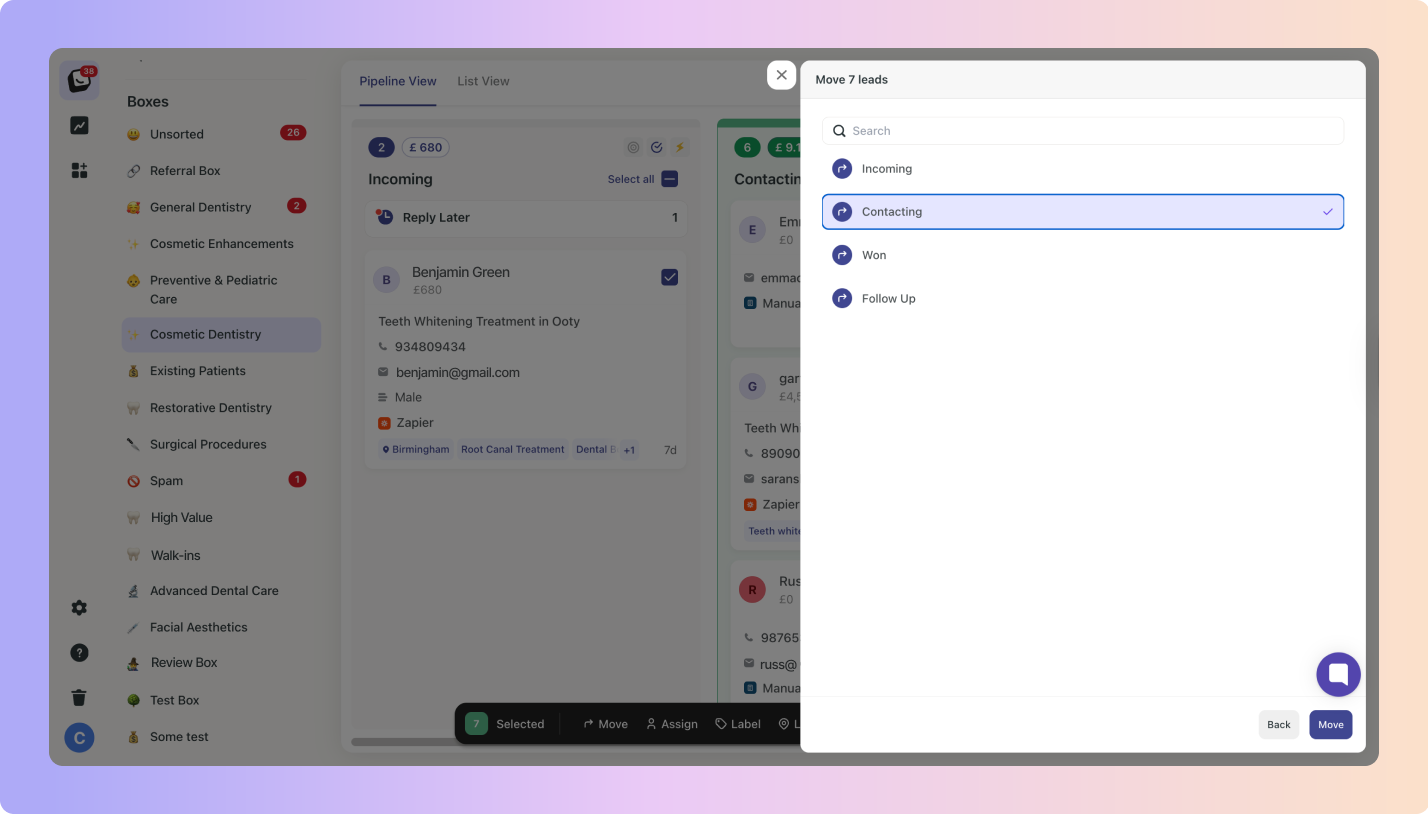
Your Move options will open up on the right side
Two options will appear:
Move leads to a stage in this box &
Move leads to a different box
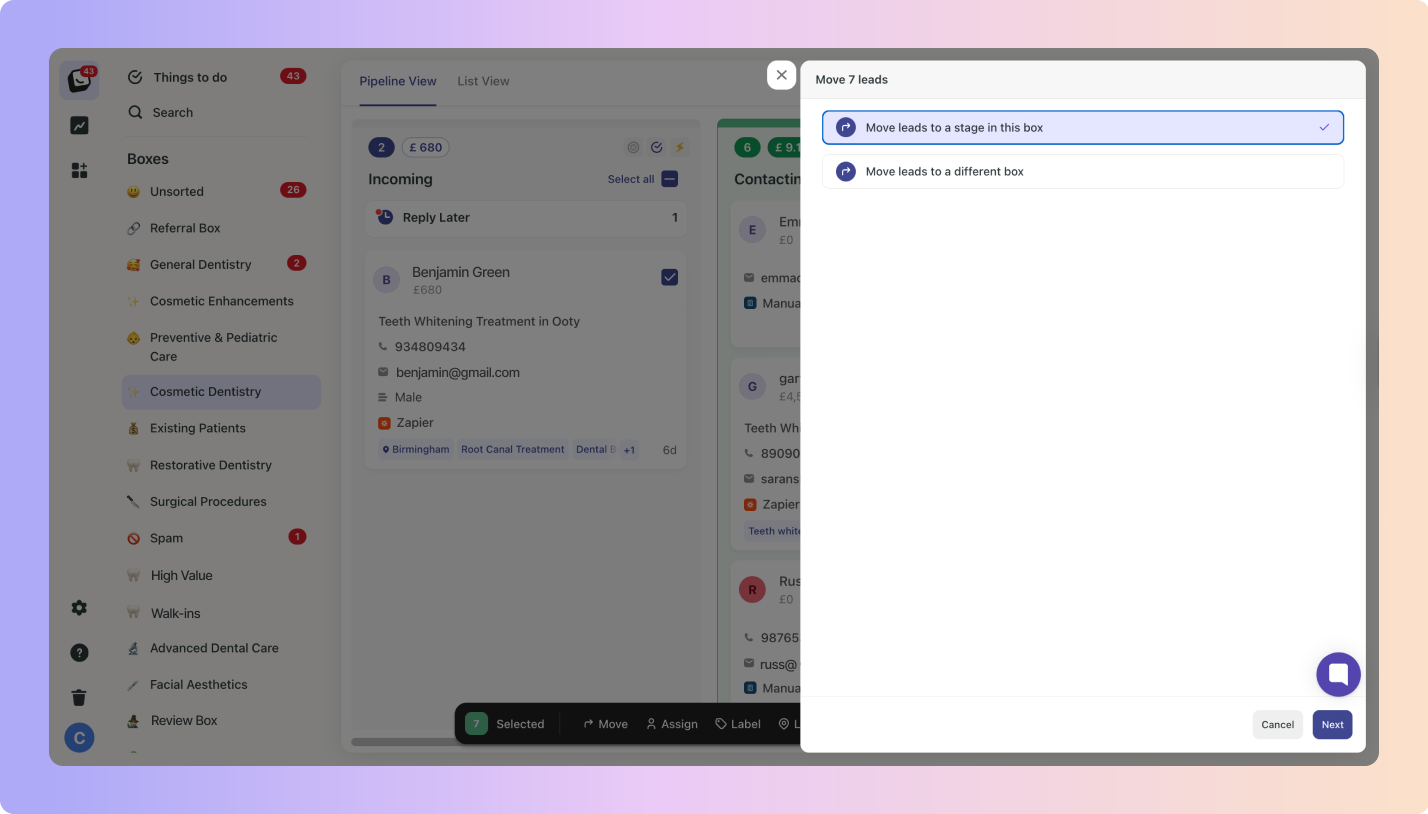
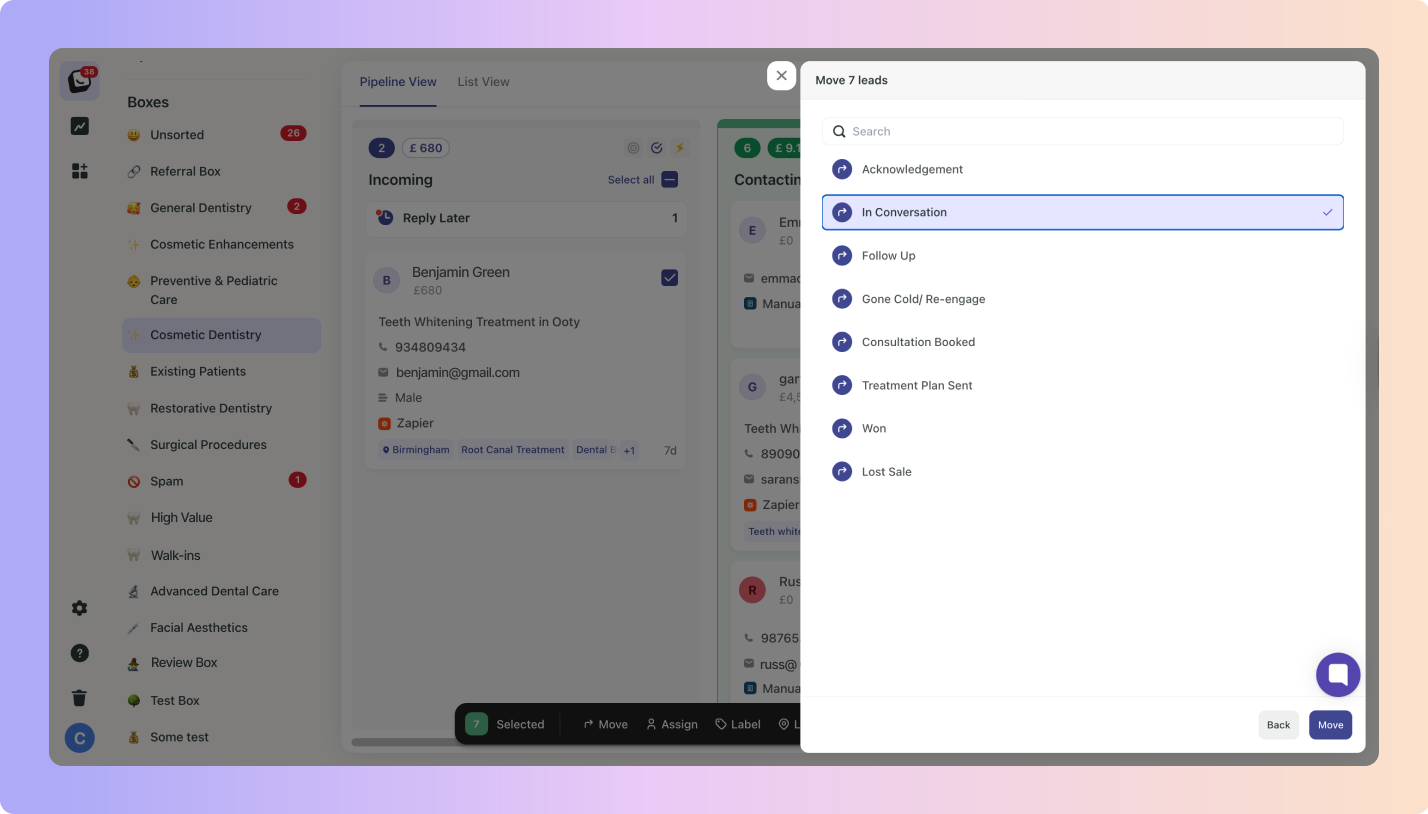
Move leads to a stage in this box – Once you click “Next”, you’ll be able to choose between the available stages for Box you’re currently in.
If you choose - Move leads to a different box,
Click “Next”, then you’ll need to select the new box to move your leads to
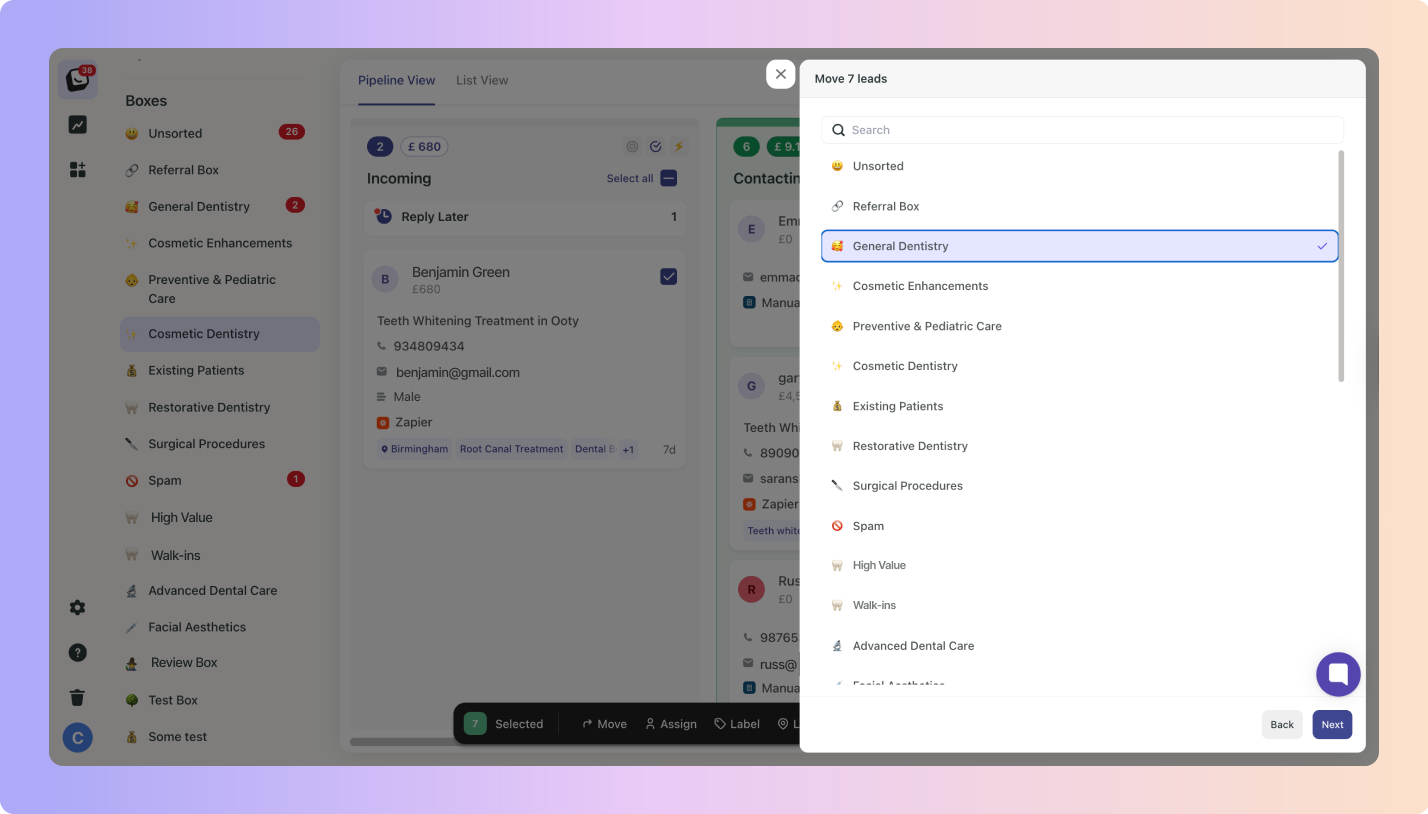
Then choose a stage within that box.
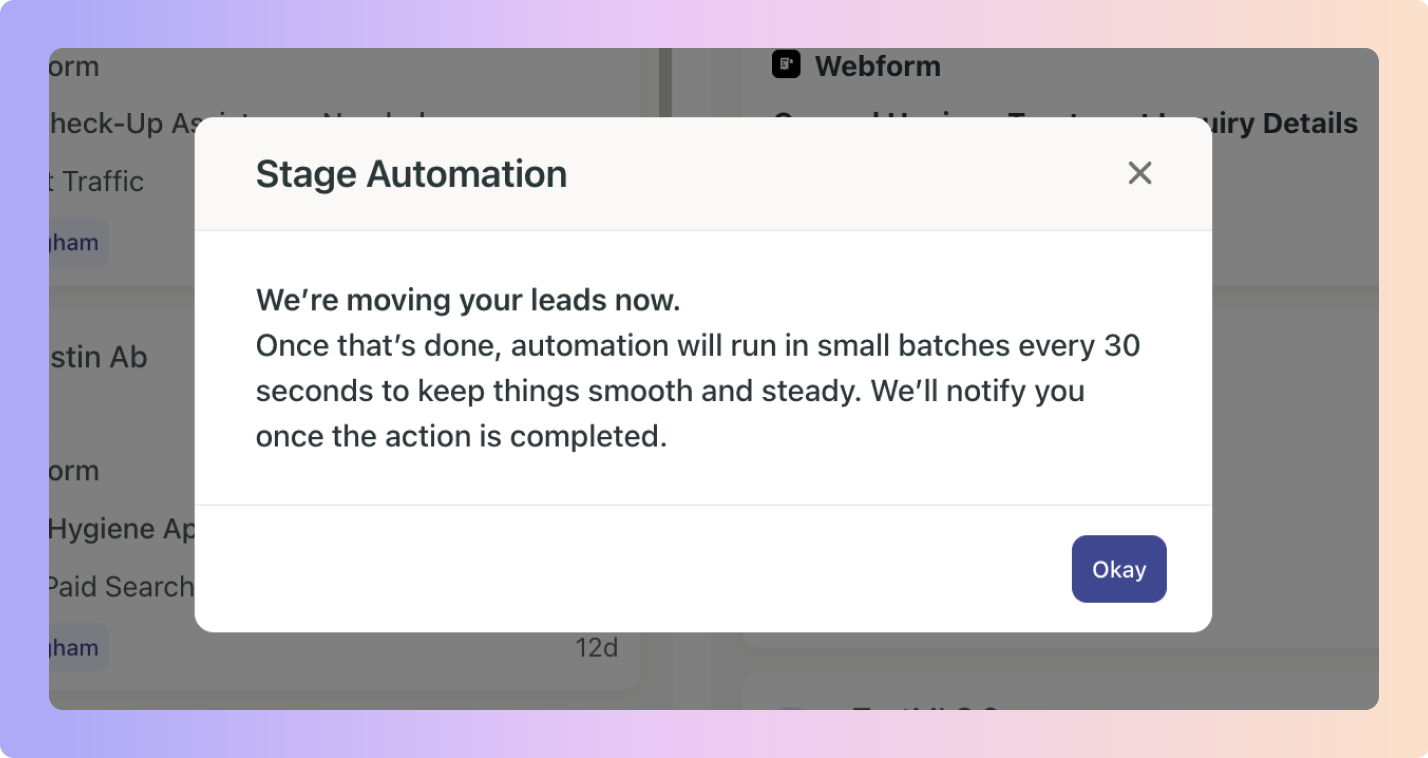
When you move leads using the multi-select tool, a pop-up message will appear immediately after you hit “Submit” informing you that your leads will be moved.

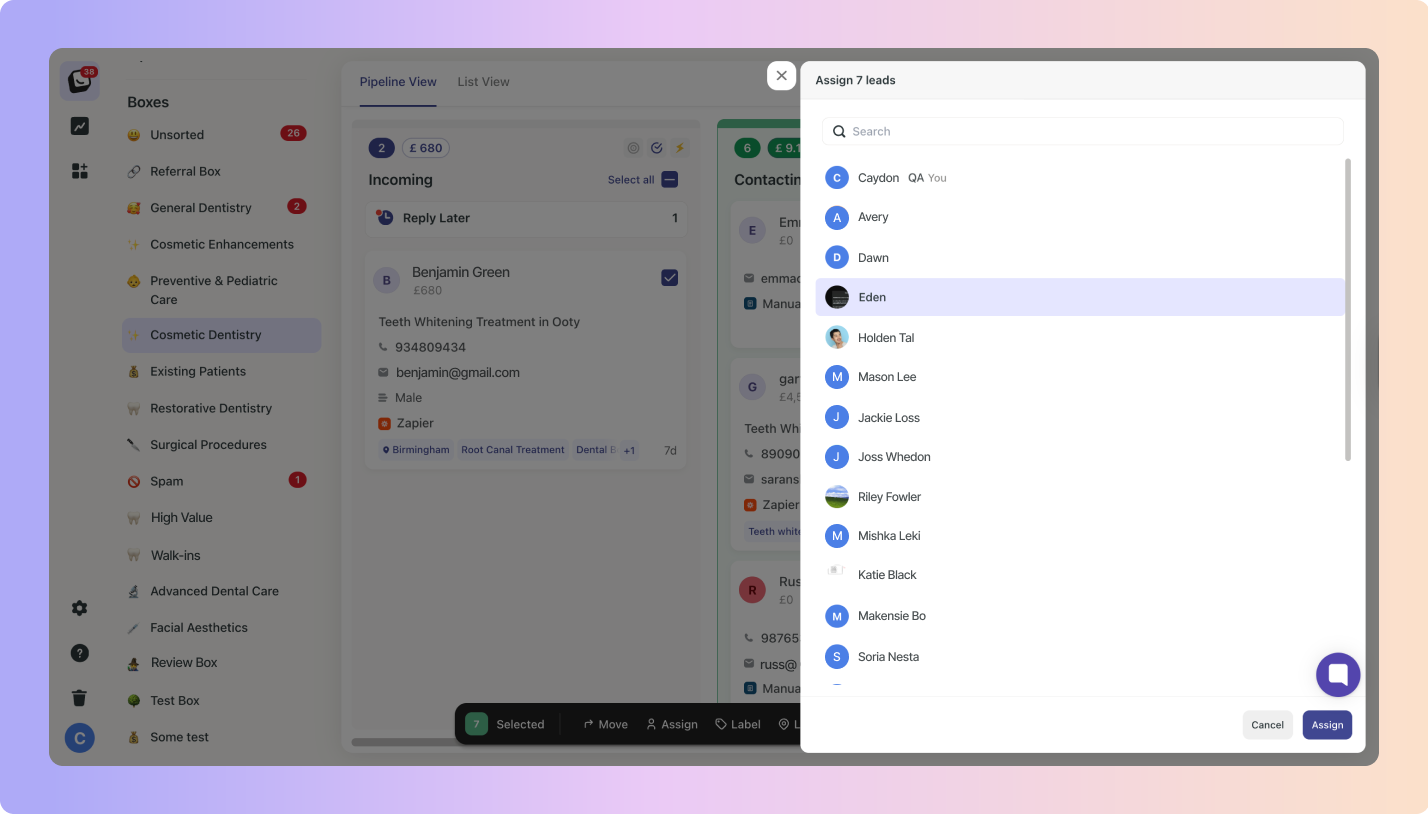
Your Assign options will open up on the right side and will show all available team members/users.
✅ Leads can only be assigned to one team member at a time.
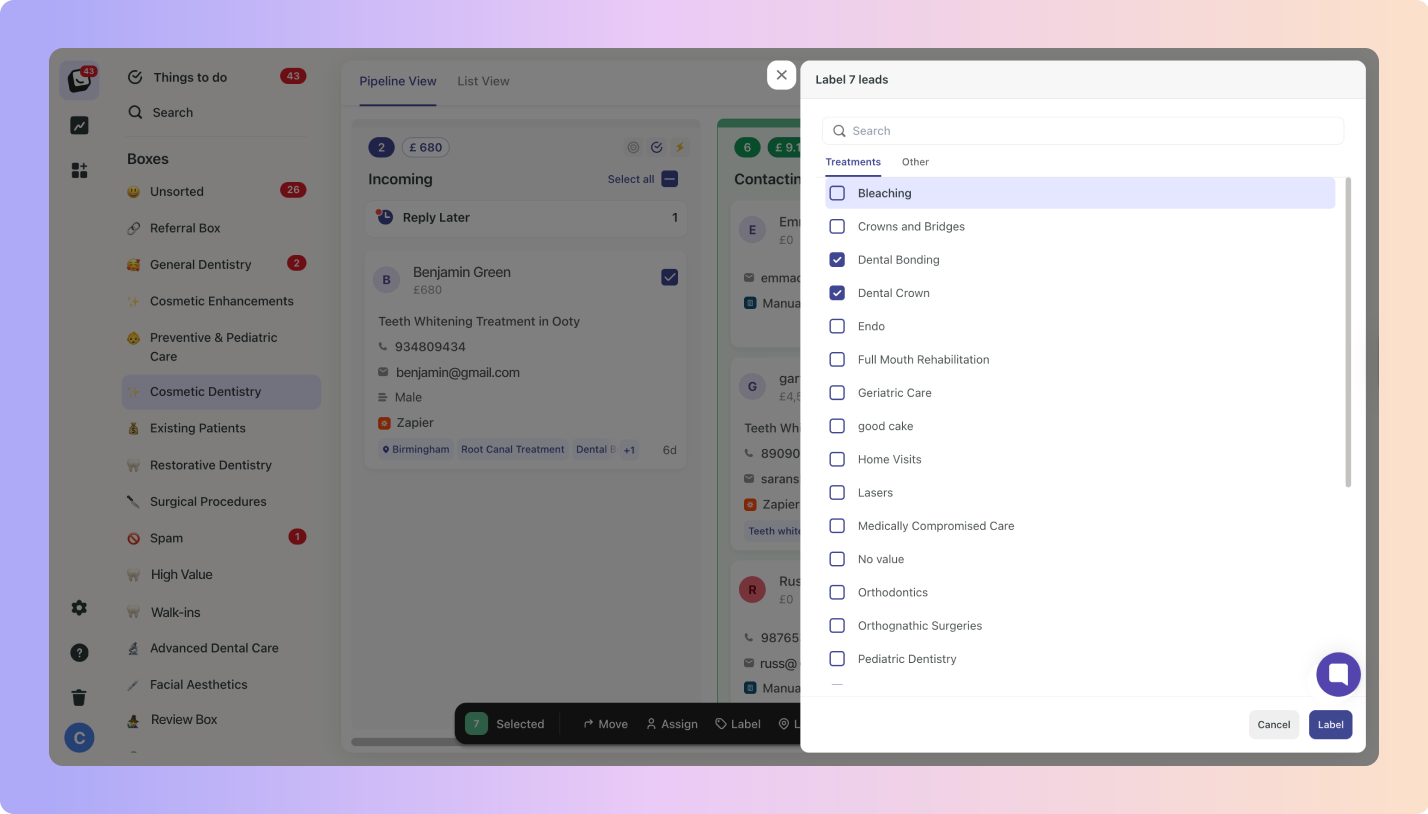
Your Label options will open up on the right side
You can select (or deselect) multiple labels and then click "Label" to apply them to your selected leads.
✅ If you switch tabs (e.g., from Labels to Other), selections in previous tabs will persist.
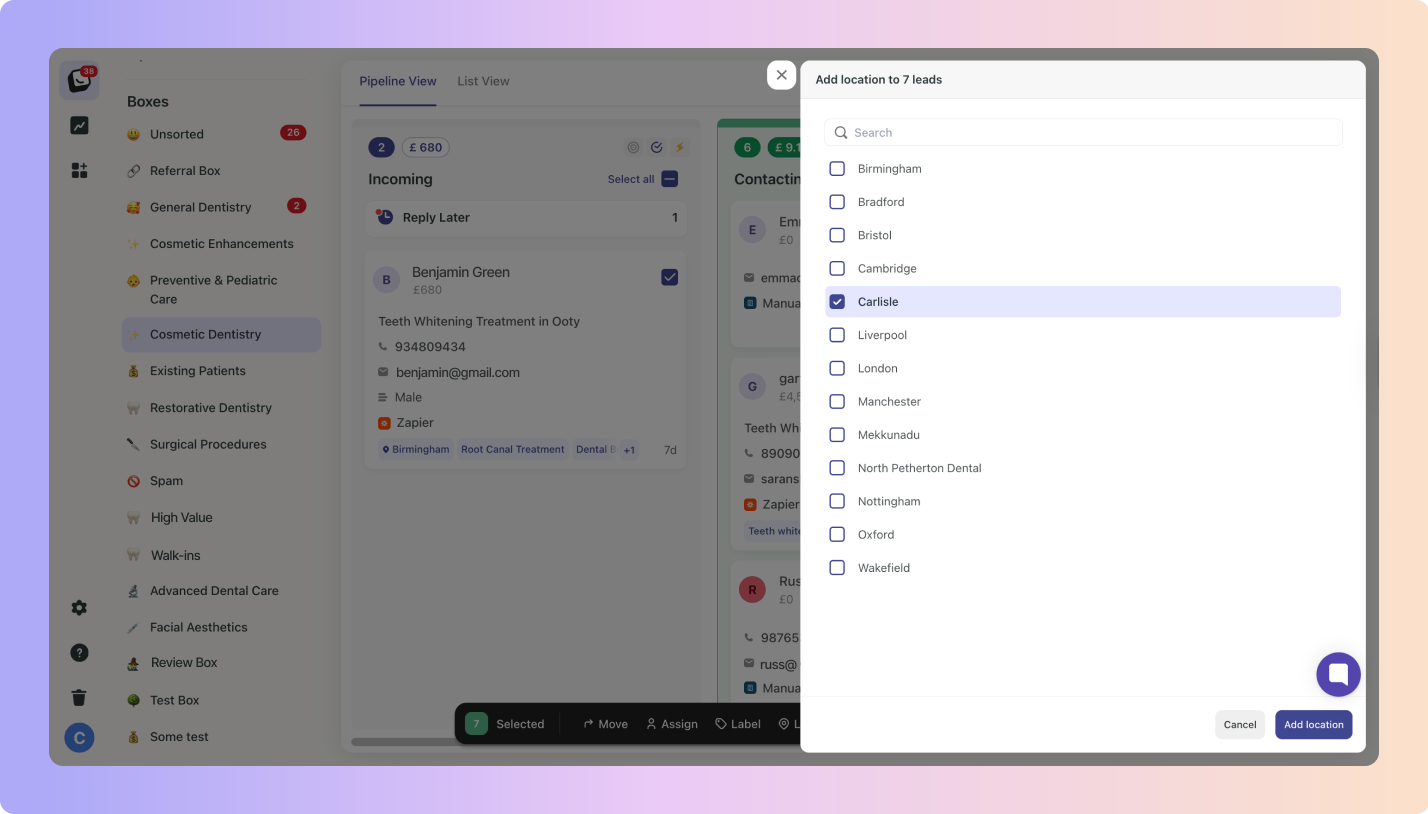
The Location option in Multi-Select, this is a single-select field - you can only choose one location.
✅ Once you select a location, click “Add Location”.
Things to remember for the Label Action (+ Location)
The “Label” action has tabs: Treatments, Other, & Location.
You can select multiple labels to apply to Treatments & Other labels and switching between tabs will not clear the selections already made.Location tab supports only one selection (single-select), but all other tabs allow multiple.
This will close all selected leads after confirming the action.

Clicking the bin icon displays the number of leads to be binned. Click okay to bin the selected leads. Once confirmed, they will be moved to the bin.
This will export all selected leads after confirming the action.

Toggle between Pipeline view and List view based on how much detail you need for your workflow. Whether organising leads by treatment type or tracking their progress, the multi-select option makes Boxly even more efficient for lead management.
Designed to keep your team in sync and avoid overlap
See Who’s in the Lead 👀
When a teammate is viewing the same lead as you, their initials will appear at the top of the lead view (between View Contact and the Close buttons).

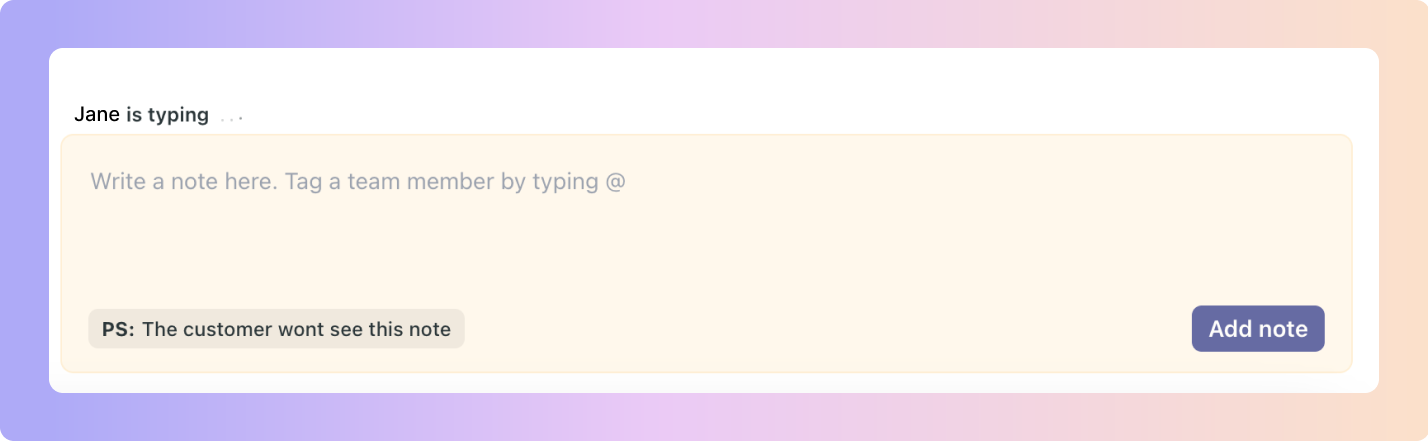
Know When Someone’s Typing 💬
If another team member is writing a reply or a note, you’ll see a “[Name] is typing…” message with animated dots, just like in chat apps.
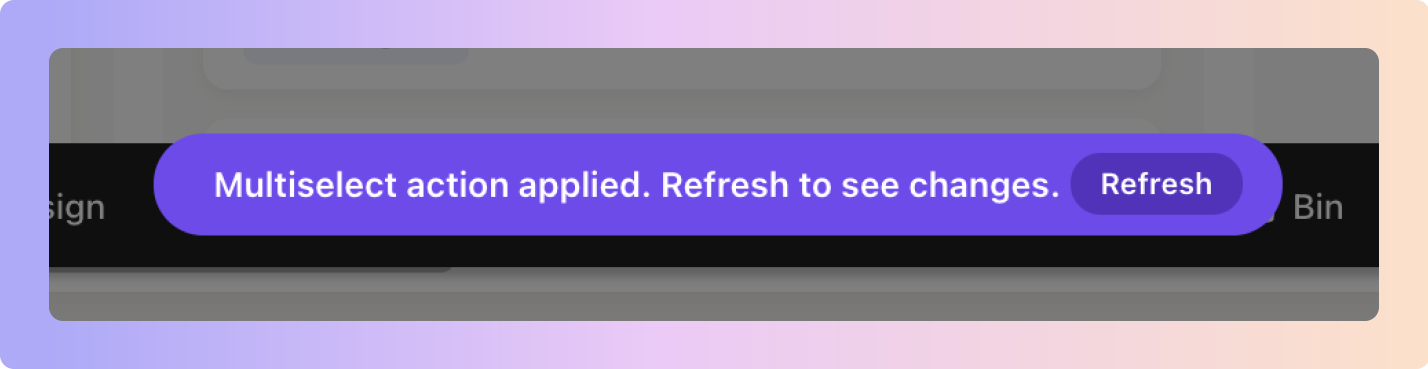
Get Real-Time Update Alerts 🔄
Get Toast Notifications when Actions are taken - If any changes are made, like updating details, moving leads, or taking action, then a Toast Notification will appear like below.
Hit the Refresh button to get the most recent lead activity.
Actions won’t interrupt your work. If you’re in a lead, it won’t move or change underneath you, even if someone else tries. This applies to all Multi-select actions.
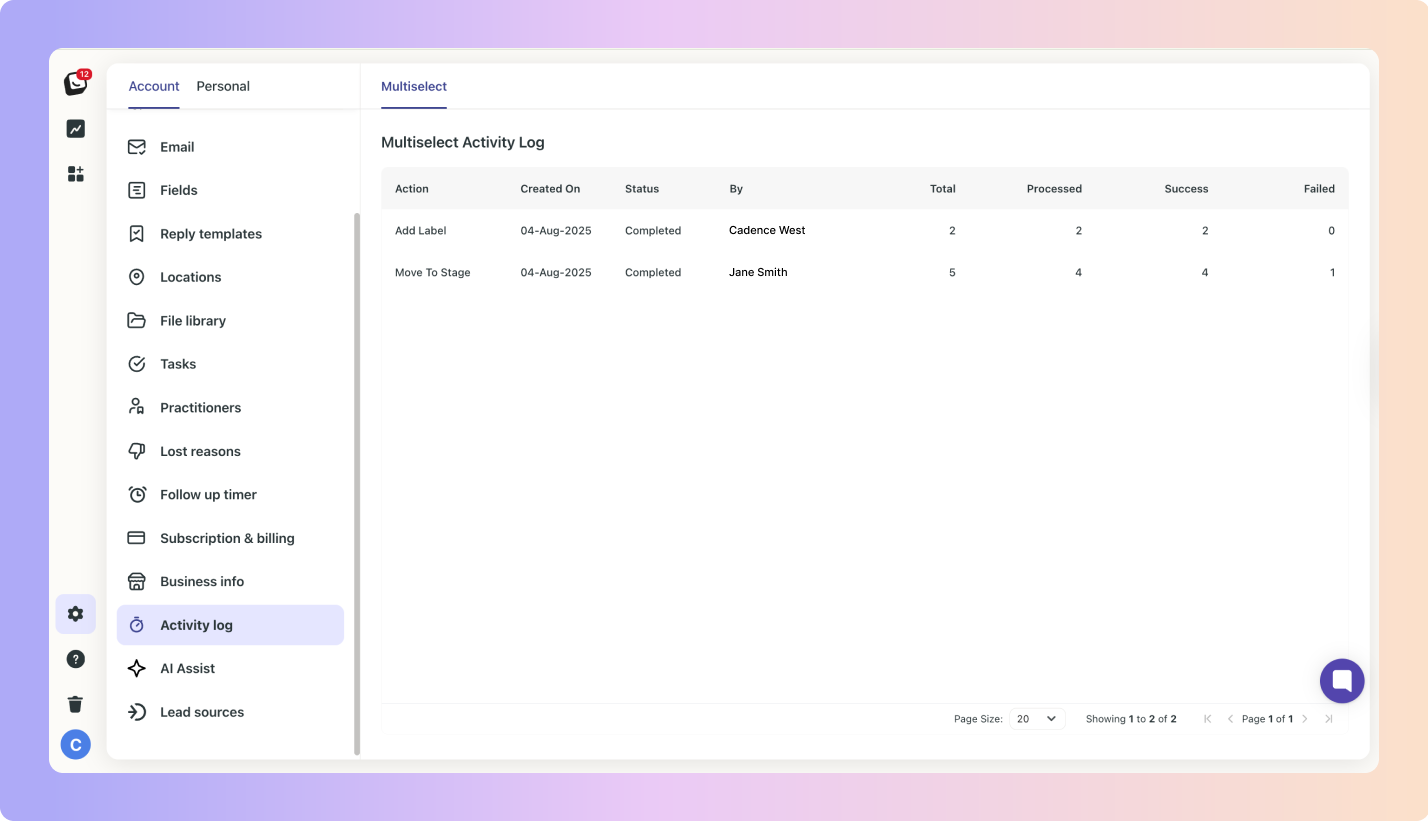
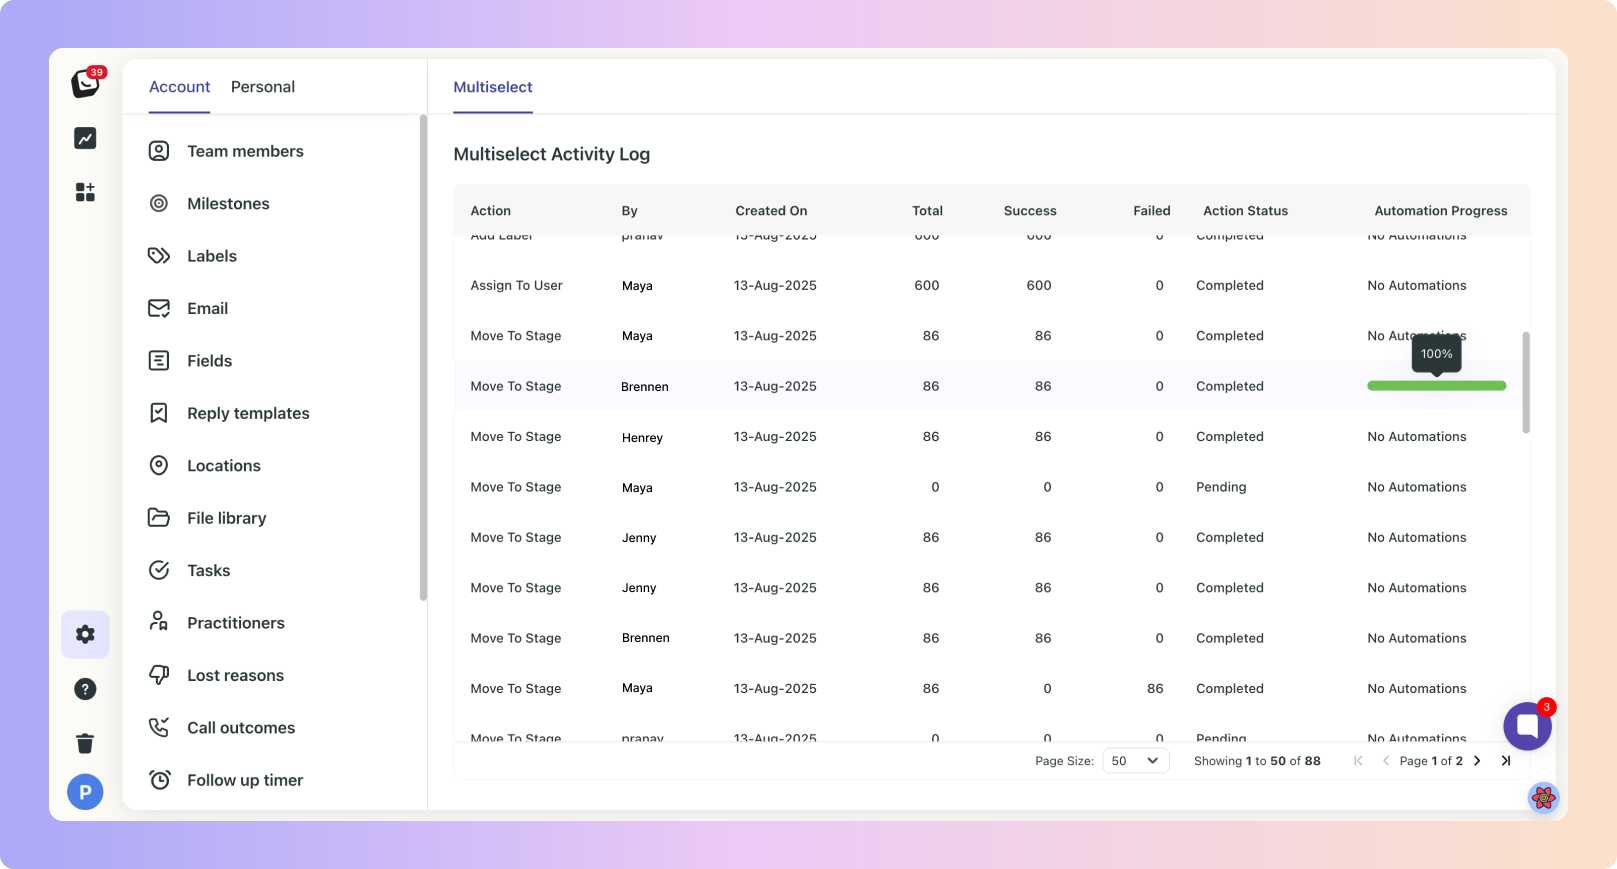
To view all activity taken in your business, head over to your account settings and find the Activity Log. All multi-select actions taken across your Boxly account will appear here under the Multi-select tab.
Your activity log will show:
Action: What action was taken
Created on: When the action was taken
Status: displays whether or not the action was completed
By: Which team member took action
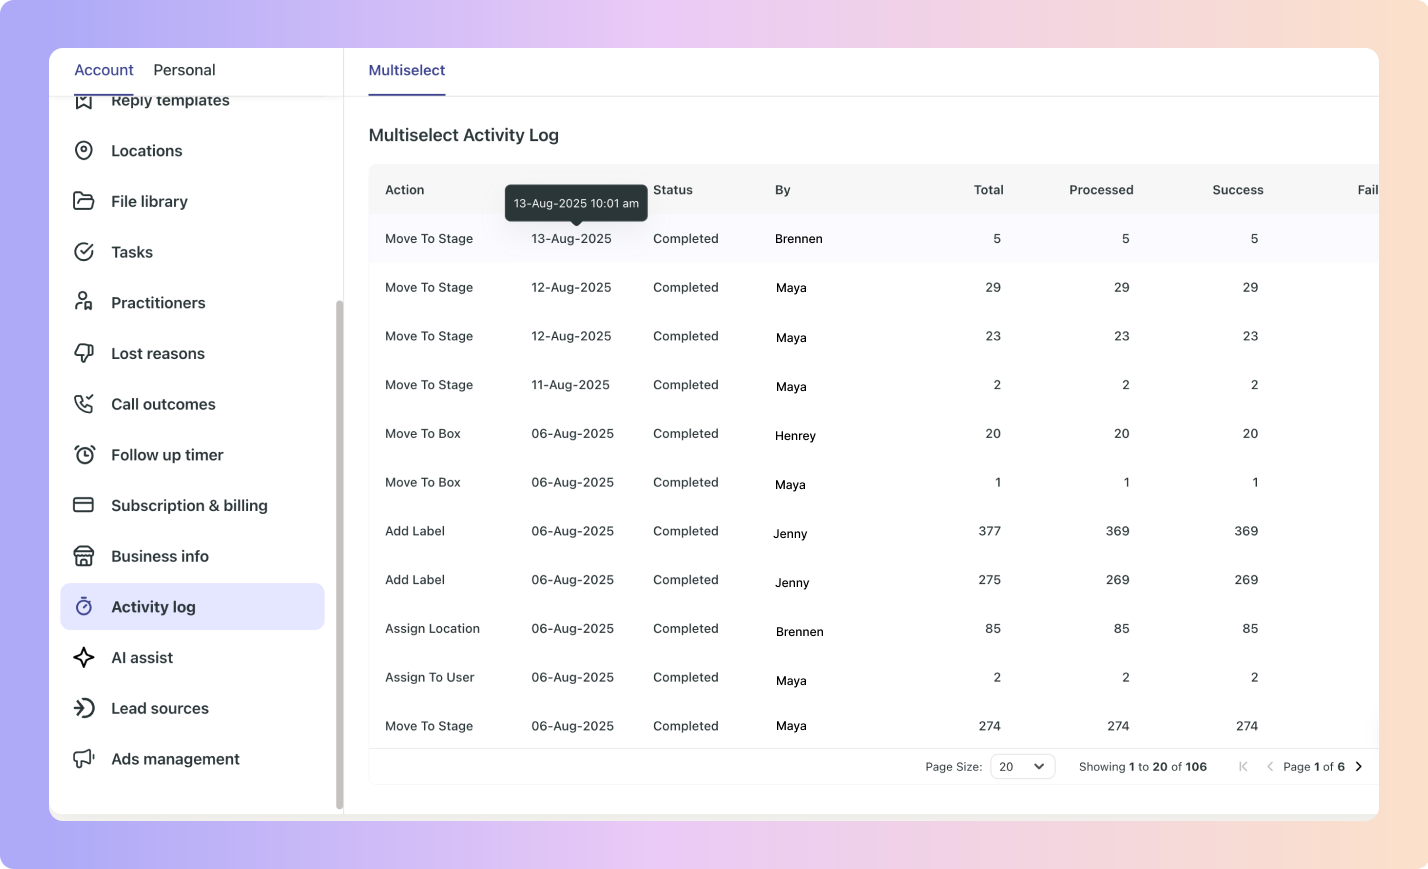
When you hover over an item in the “Created on” column, the timestamp will appear for that action showing you the exact time and date when the action was performed via Multi-select.
You also have an “Automation Progress” column, this column shows you the percentage at which your automation is complete.
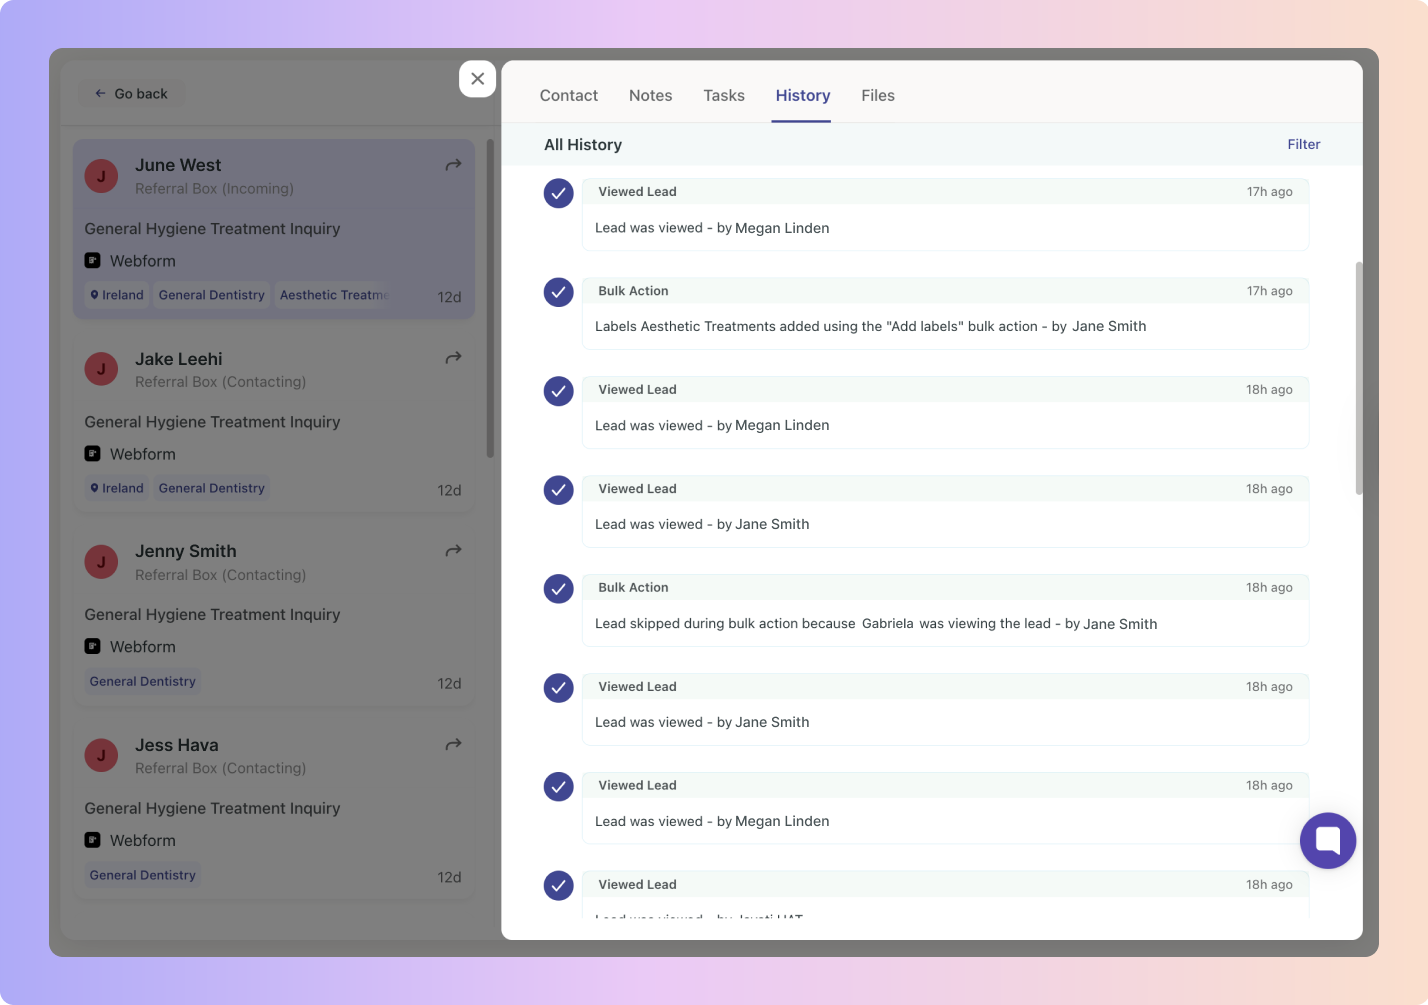
The history tab will display all actions taken on a lead, including Multi-select actions you’ve taken on the lead you’re in. Multi-select actions are listed at “Bulk Action”.
Boxly is here to help you work smarter, not harder. Let’s keep streamlining your lead management together!
Contact us at [email protected] if you need any assistance!