Milestones are a flexible way to track all the meaningful moments that happen in your pipeline. They are the key checkpoints in your sales journey that help you measure lead progression. Whether you're running a dental clinic, a cosmetic practice, or another service-based business, milestones let you break down the lead journey and report on it accurately.
This feature ensures you’re not just tracking when someone becomes a customer; you’re tracking the steps they take along the way. They are tied to your Boxly Stages, so as leads move through your pipeline, Boxly automatically tracks when they pass each milestone.

Dental and cosmetic practices will have the following default milestones:
Won
Lost
You can create your own milestones based on your workflow. For example, a restaurant might track:
Booking Confirmed
Arrived
Payment Received
Lost
You will have the ability to edit milestone names but cannot delete them. You can reorder milestones, and the reporting system will reflect the milestones in the same order they are arranged. You will also be able to create new milestones.
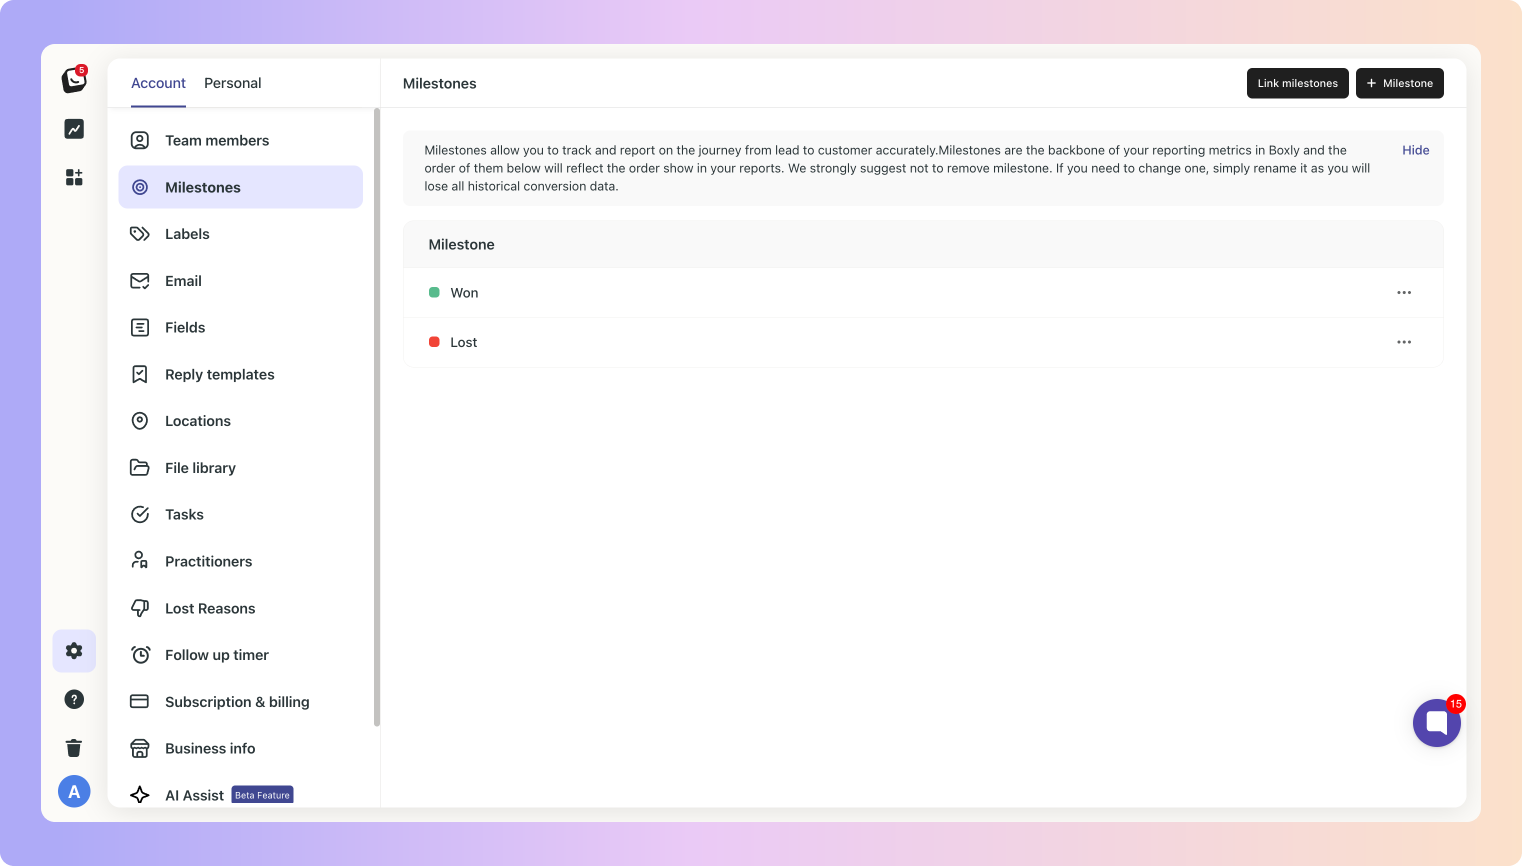
You have two default Milestones
✨ WON & LOST
These two milestones can NOT be deleted, but they can be renamed.PS: All the previous conversion stages will be mapped to the WON Milestone.
You add new custom Milestones and they can be edited/deleted.
Manually created milestones can be renamed and deleted, but system-created milestones can only be renamed.
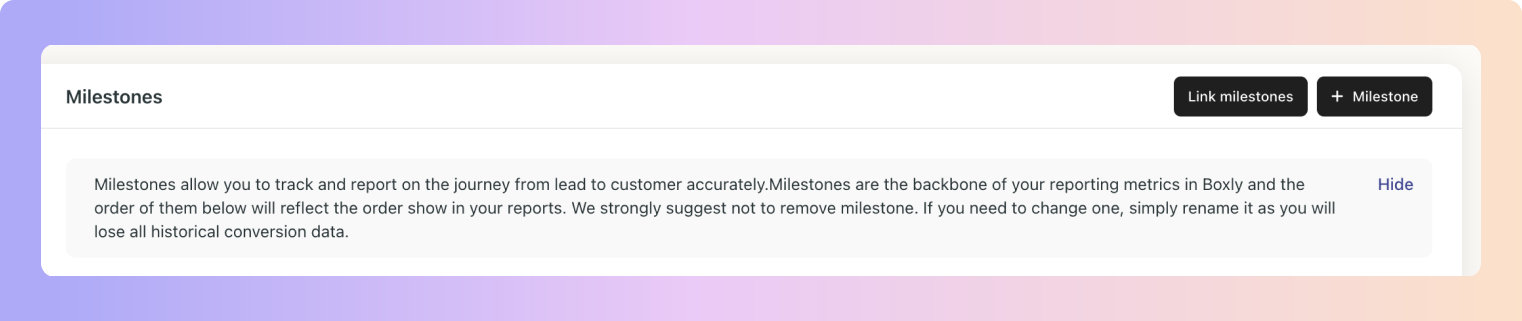
✅ Go to your Settings,
✅ In Account, click “Milestones”.
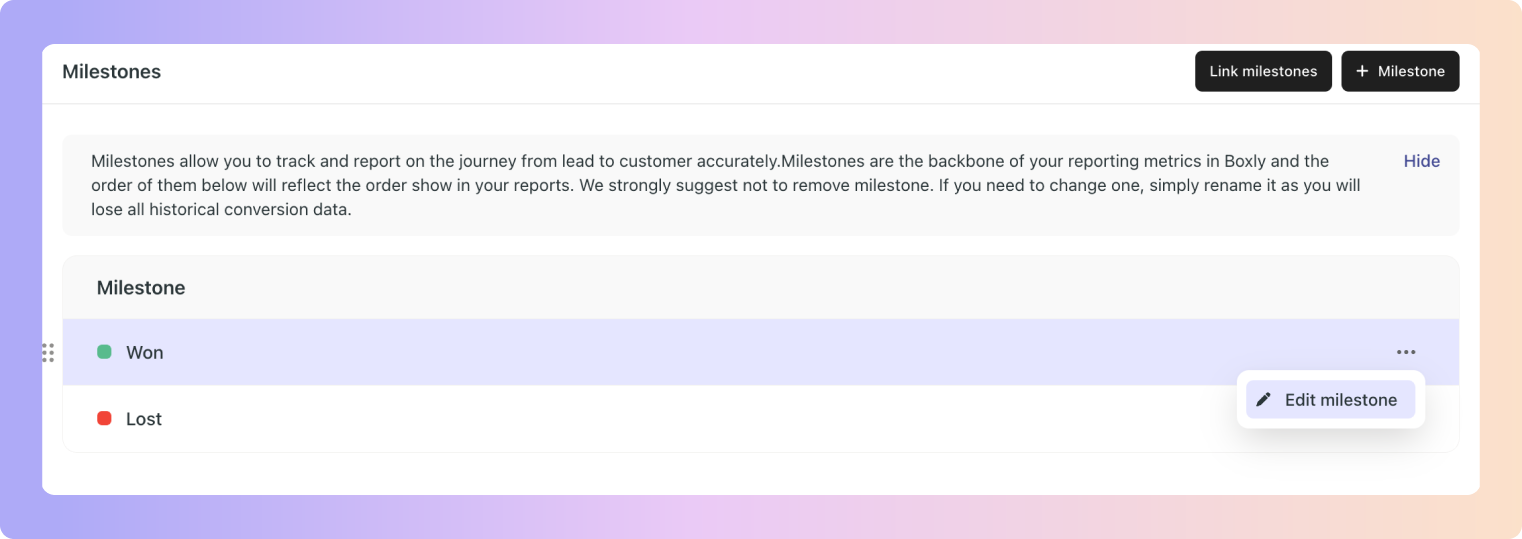
✅ Click the three-dot menu to edit your Milestones
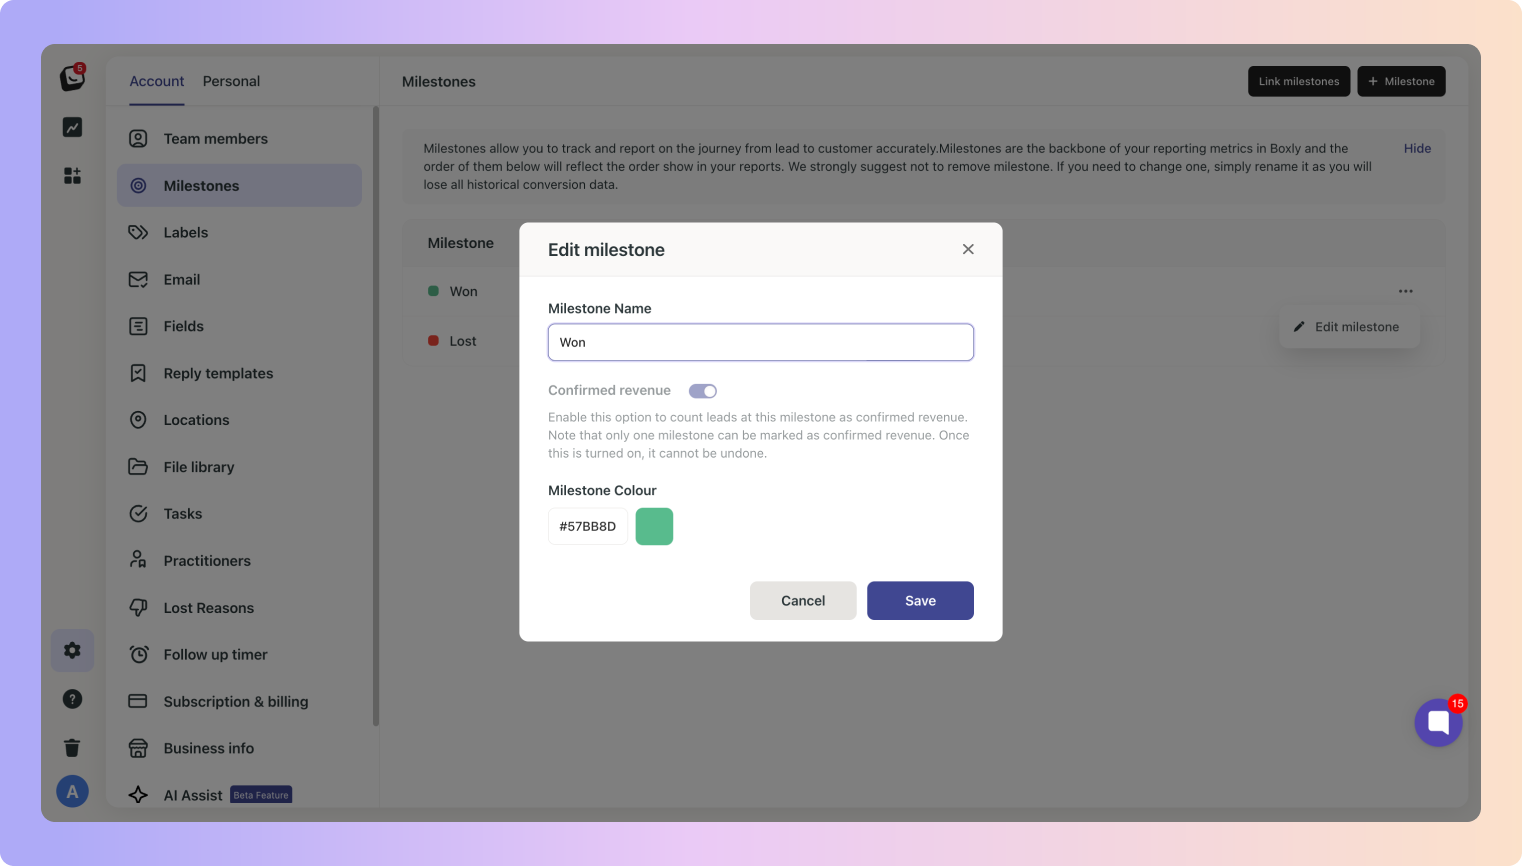
To help with visual clarity, you can assign a colour to each milestone, so it’s easy to see which stage is linked to what milestone at a glance.
The top of each stage in a Box that connects to a milestone will be colour coded, allowing you to see lead progression at a glance.
Enabling this option will count leads at this milestone as confirmed revenue. This will carry forward to your reporting.
✅ Click the three-dot menu to edit your Milestones to add the Confirmed revenue to your milestone.
Note: only one milestone can be marked as confirmed revenue. Once this is turned on, it cannot be undone.
Navigate to the right side of the milestone you want to edit and click on the three-dot menu (…) at the end to Edit or Delete your milestone.
✅ Want to change a milestone colour?
Simply edit the milestone and either:
Enter a new hex code (#numbers/letters)
Pick a colour in the Milestone Colour box.

You’ll still use your Box stages as usual, but now, you can link a milestone to any stage in your Box pipeline.
Here’s how it works:
Each Box contains multiple stages.
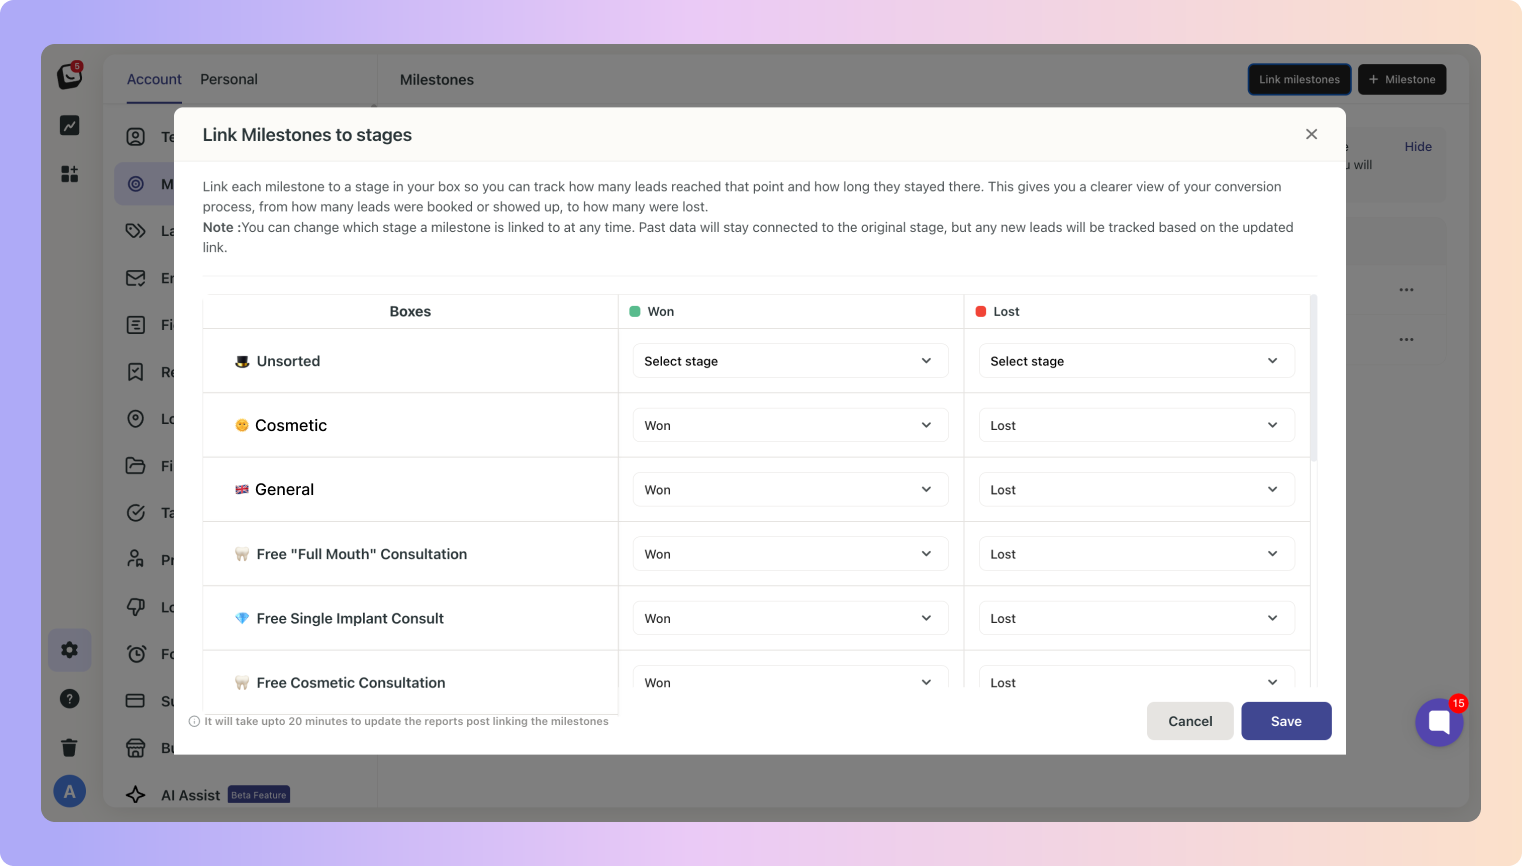
Click the “Link milestones” button on the top right of your Milestones page to link your stages to milestones.
A stage can only be linked to one milestone.
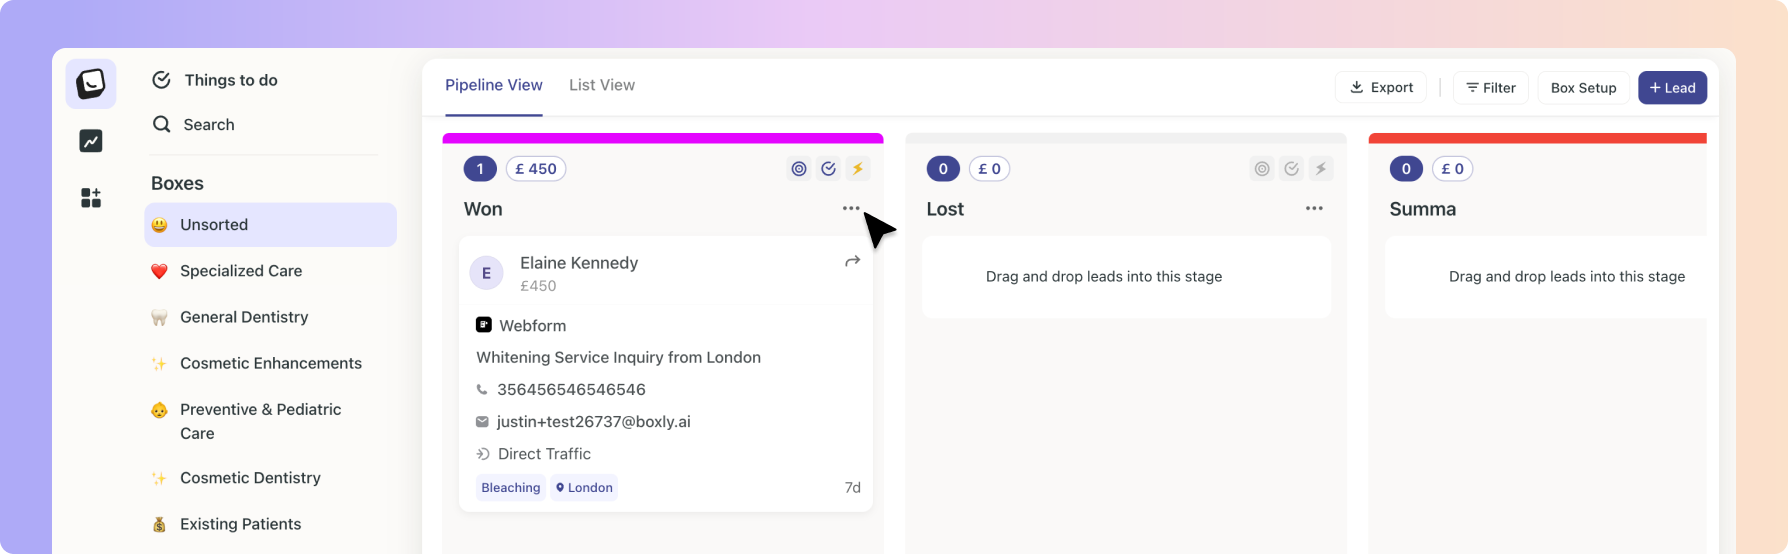
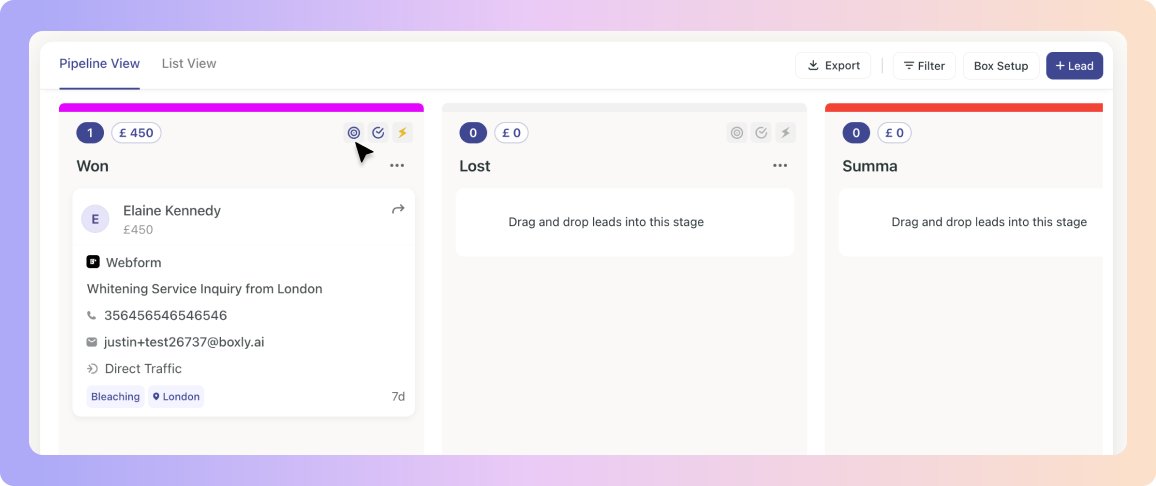
The colourful lines as shown below is how you know a Milestone is connected to a stage.
You can view what Milestone is attached to what Stage in your stage settings.
✅ Click the three-dot menu (…) on the Stage you want to view.
You can also click the stage settings icon, if the icon is darker that means a Conversion Milestone is applied. As shown below in the “Lost” Stage, it has greyed out icons, therefore it doesn’t have Conversion Milestone and Stage Checklists activated.
✅ Your Stage Settings will pop-up
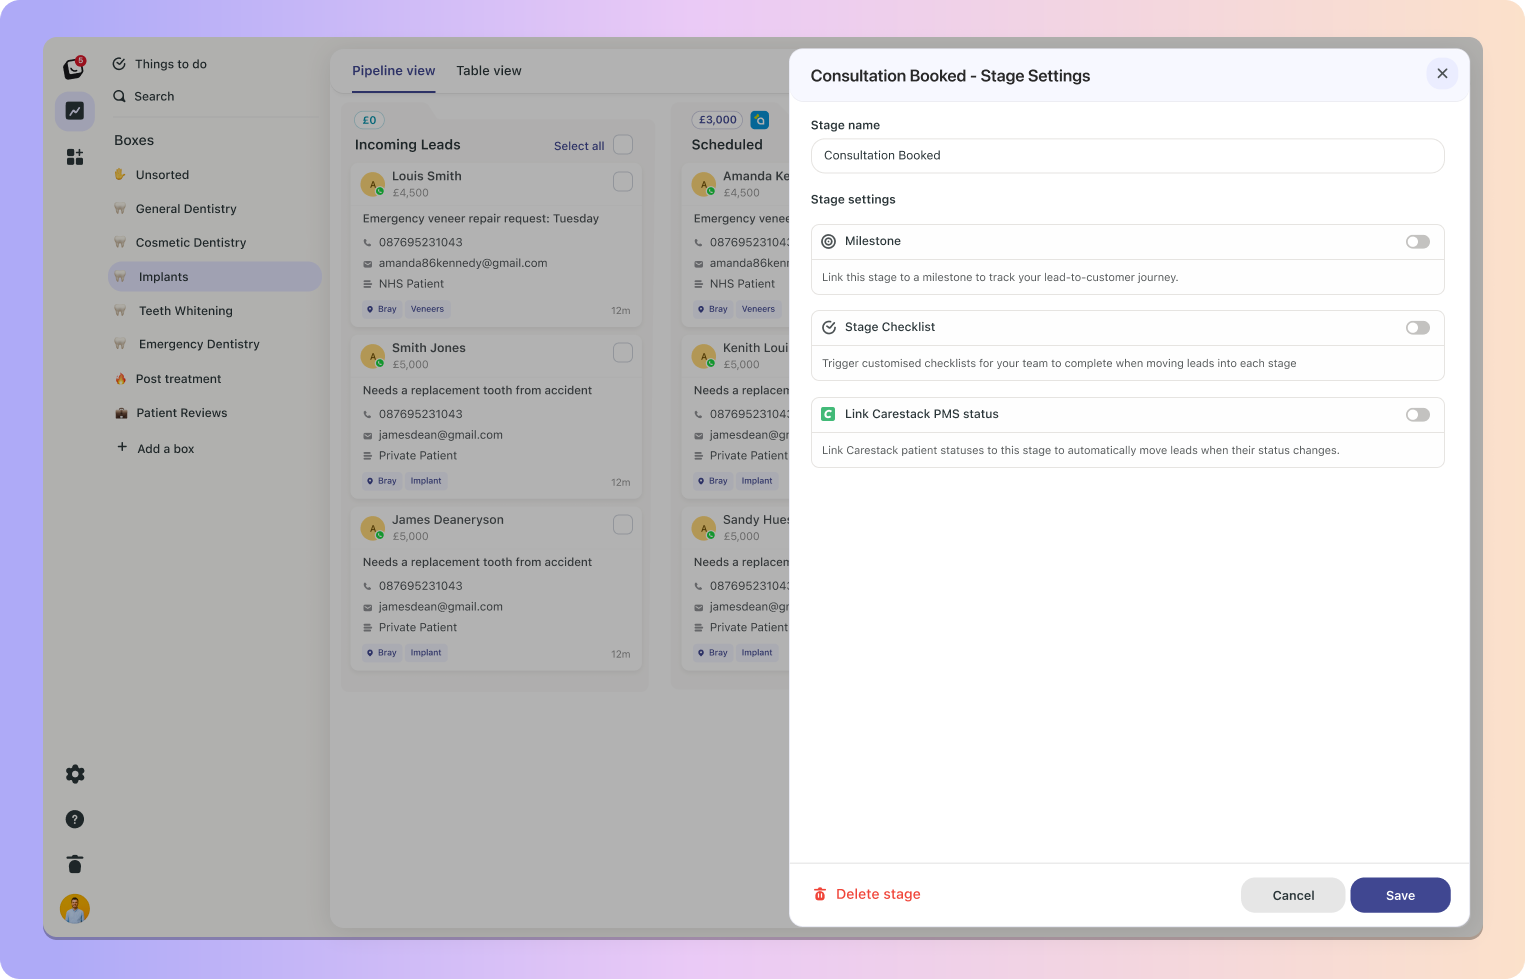
✅ Stage settings will display whichever milestone is connected to the stage.
Depending on the Milestone, your editing capability will differ. Those attached to sales are locked in, but milestones that track progress can be changed.

When a lead enters a milestone-linked stage, we stamp the lead’s details at that moment.
If the value is updated after reaching the milestone, the latest value will still be saved.
The lost reasons milestone includes a dedicated section where you can add specific reasons for lost leads.
When a lead is moved to a stage linked to the Lost milestone, a pop-up will prompt your team to select a Lost Reason, like “Too Expensive” or “Went with Competitor.”
You can manage and customise Lost Reasons in your settings:
Add, edit or delete reasons anytime.
Turn on sub-reasons for more detailed tracking. For example, if the reason is “Competitor,” sub-reasons might include the competitor’s name.
This gives your team insight into why leads didn’t convert, helping you spot trends and make better decisions.
We’re rolling out the next generation of reports powered by milestones:
Conversion Stages automatically links to the Won Milestone
As Reports launched your existing Conversion Stages automatically linked to the Won Milestone in each Box (with some AI-magic).
Your Conversion Stage in each Box will automatically link to your default Won Milestone. All other Stages are up to you! Your Leads By Milestone Report will automatically bring in your Won Milestone connected to your Conversion Stages in your reports.
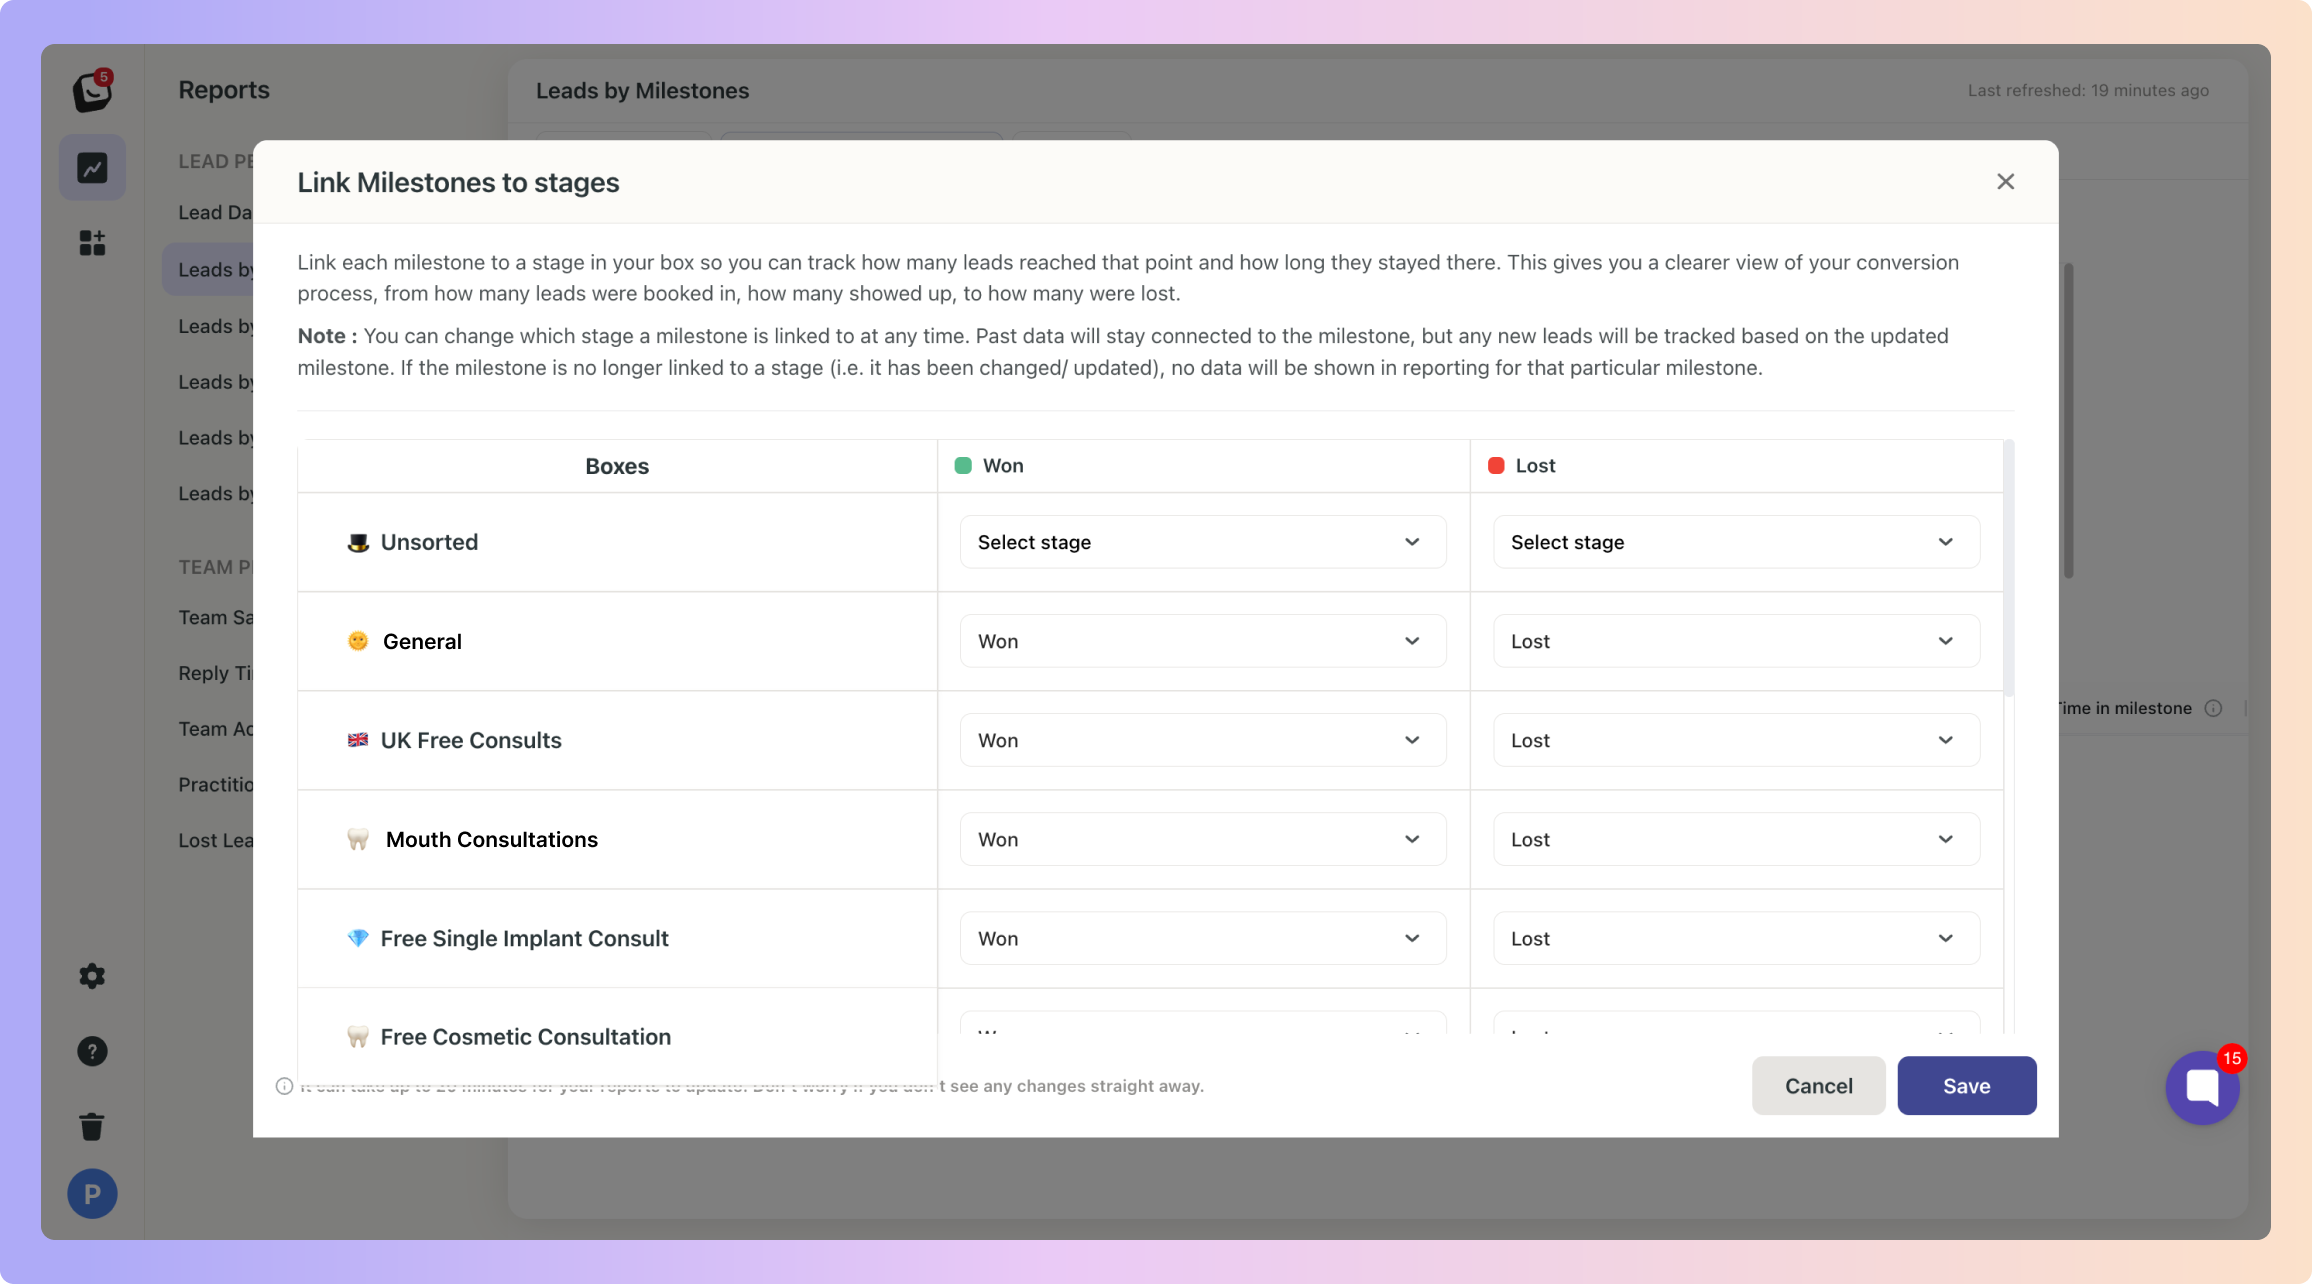
Link Stages to Milestones with in your Leads By Milestone Report, Milestones settings, or in your Stage settings
Your Leads By Milestone Report will allow you to easily link your stages to Milestones right from your reports. We’ve created a table of all your available milestones and stages to link. Just click the “Link Milestone” button in your Leads By Milestone Report.
The order of your Milestones will reflect in your Leads By Milestone Report
You can Drag to reorder your Milestones, you can reorder them at any point to make the most sense, whatever your order of Milestones is here, will reflect in your Leads By Milestone Report.

This makes things more flexible and allows for a cleaner transition.
Explore your Milestones