With Zapier, you can automatically send leads from thousands of apps directly into Boxly. Whether you're using a webform, chatbot, spreadsheet, or booking tool, Zapier makes it easy to get leads into your inbox without manual effort.
This guide will show you how to:
Set up a trigger from any Zapier-connected app
Use the Create Lead action to send lead details into Boxly
Let Boxly automatically route leads using AI
Track the lead source with the Entry Point URL
When someone fills in a form, books an appointment, or submits data through your chosen tool:
A new lead is automatically created in Boxly
The conversation includes all the mapped information
The lead is sent to the right box and stage, either manually or by AI
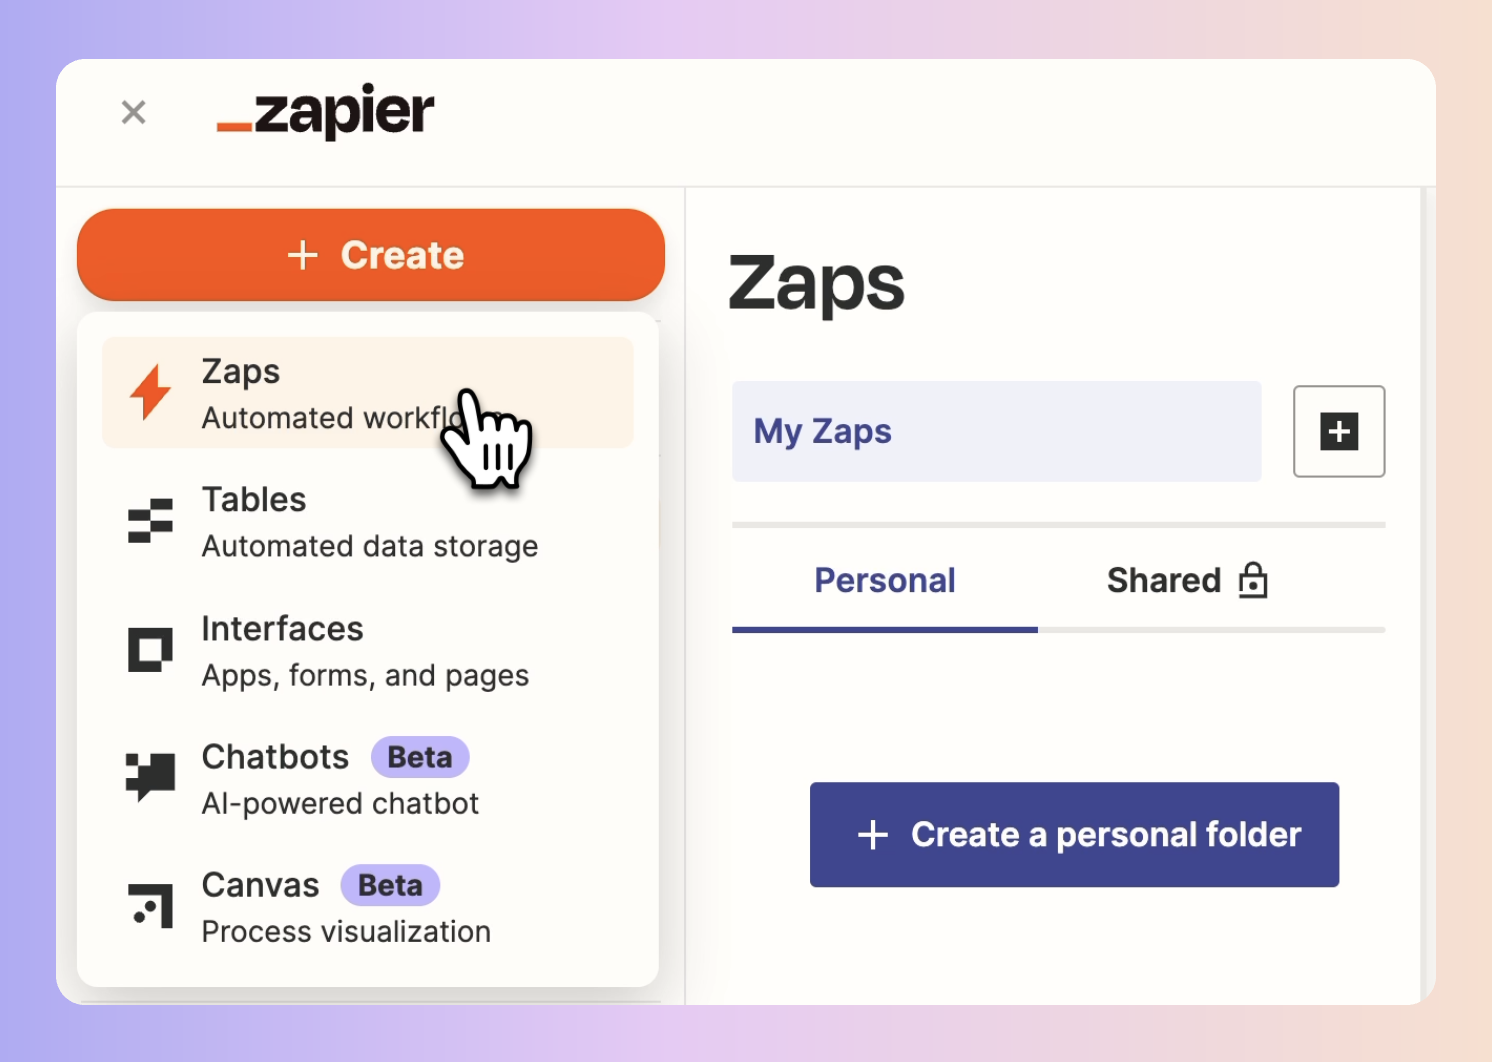
Log in to Zapier and click Create Zap
Choose the app you want to connect (e.g. Typeform, Calendly, Gravity Forms)
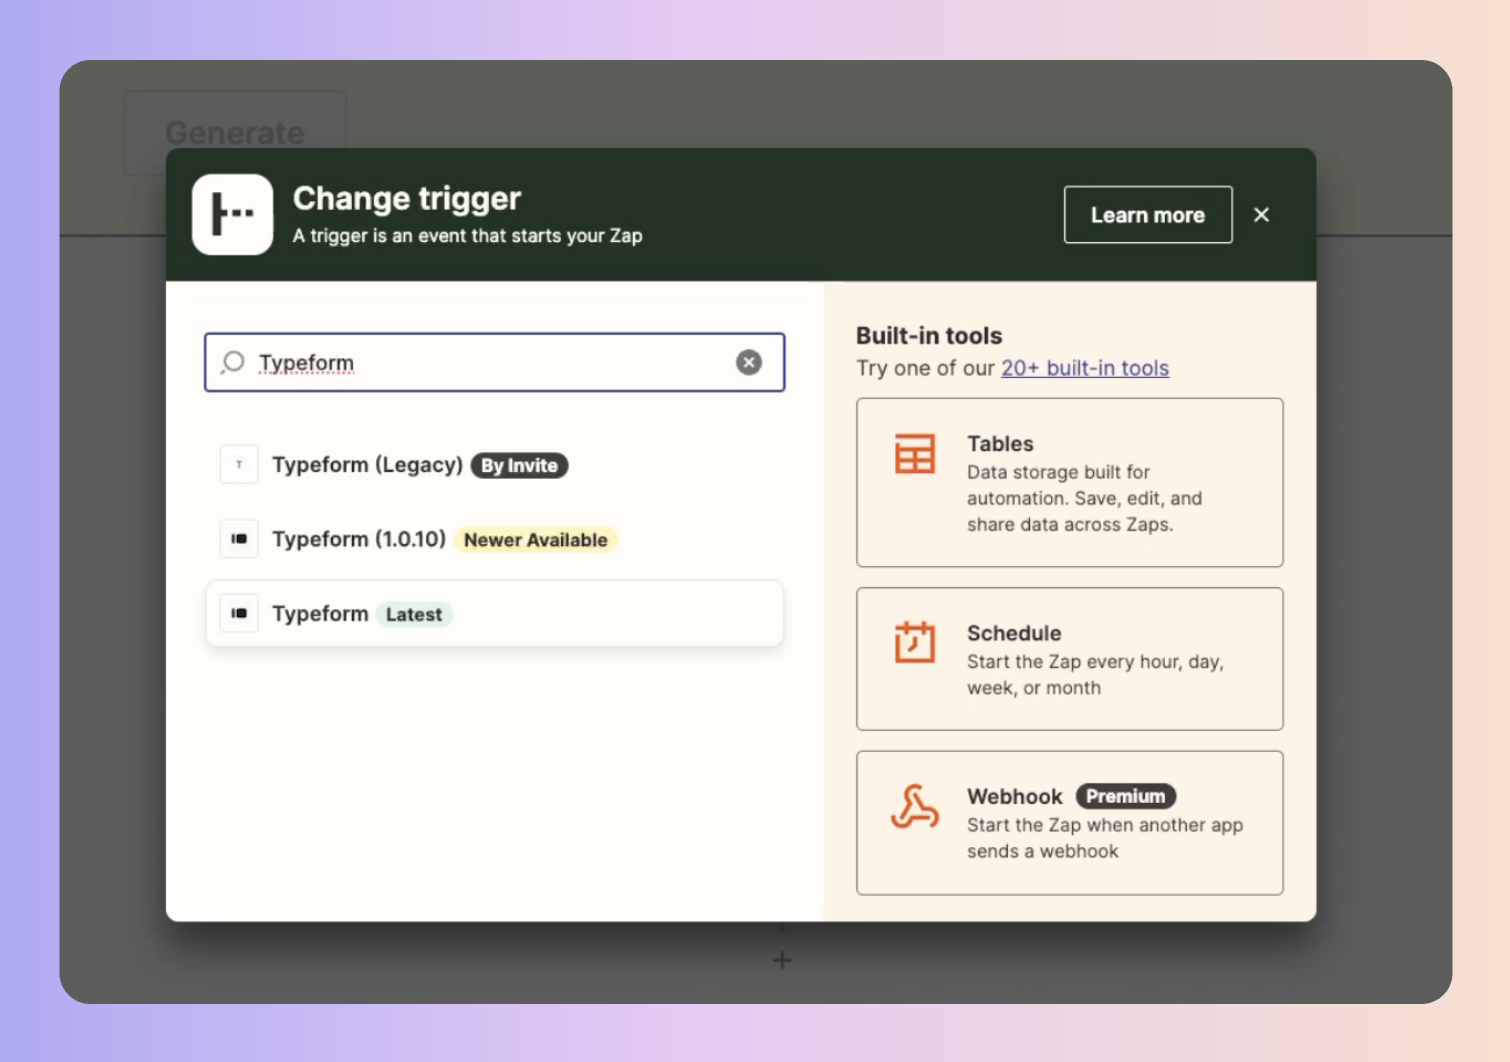
Select the trigger event (e.g. "New Form Submission", "Invitee Created")
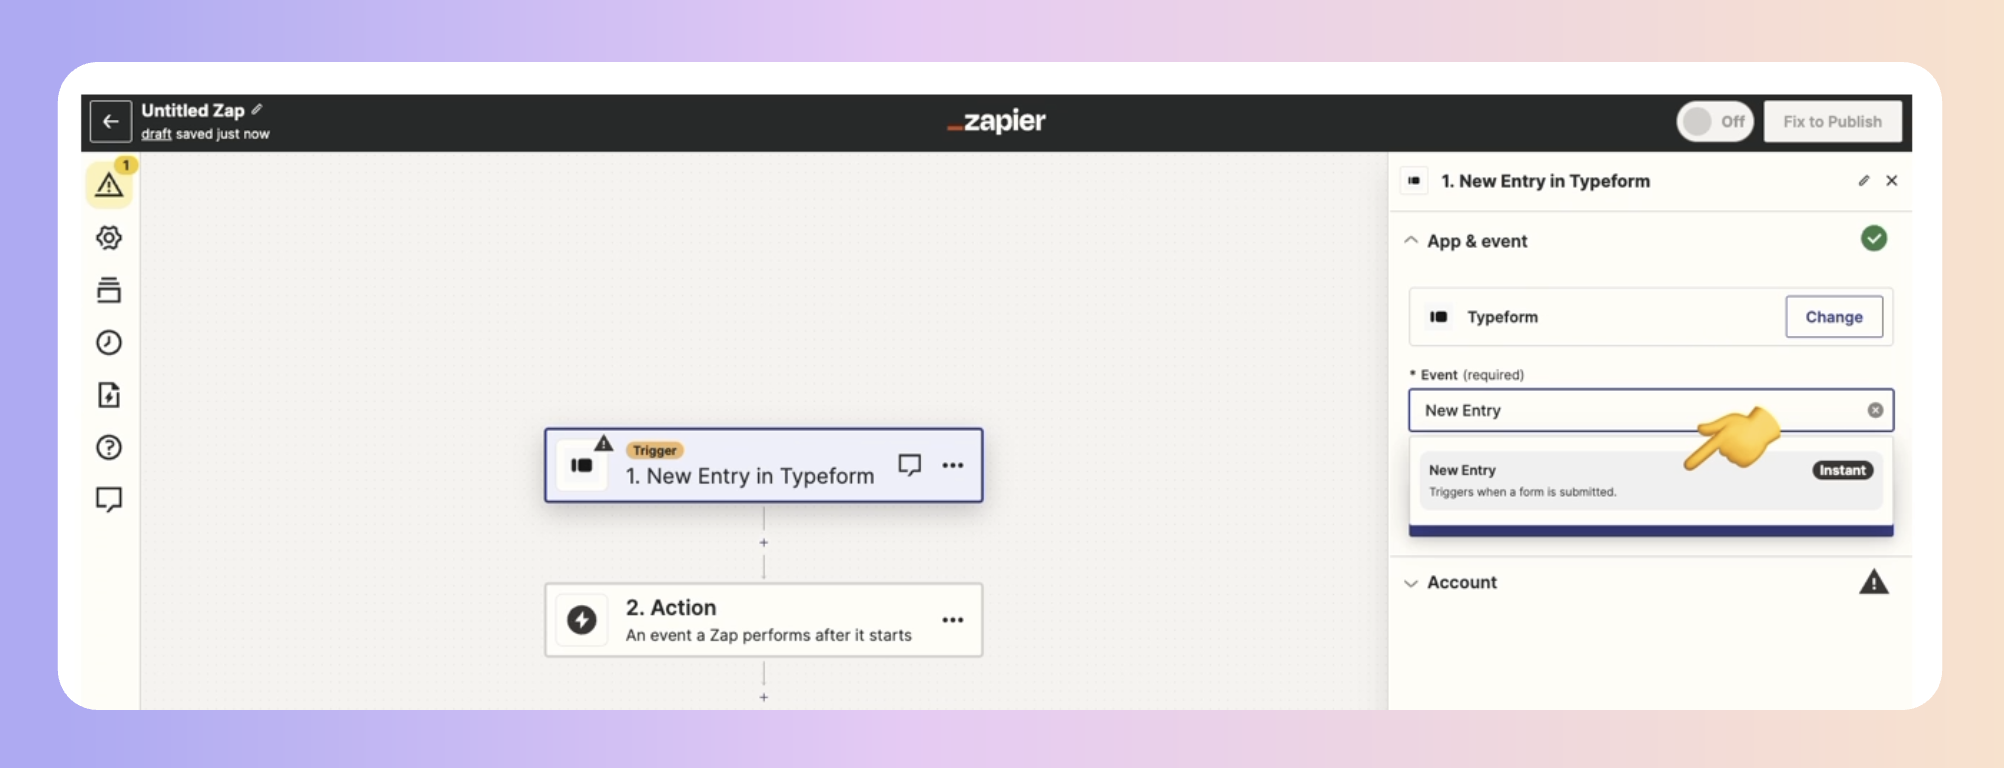
Connect your account and choose the form, calendar, or source
Test the trigger to pull in recent data for mapping
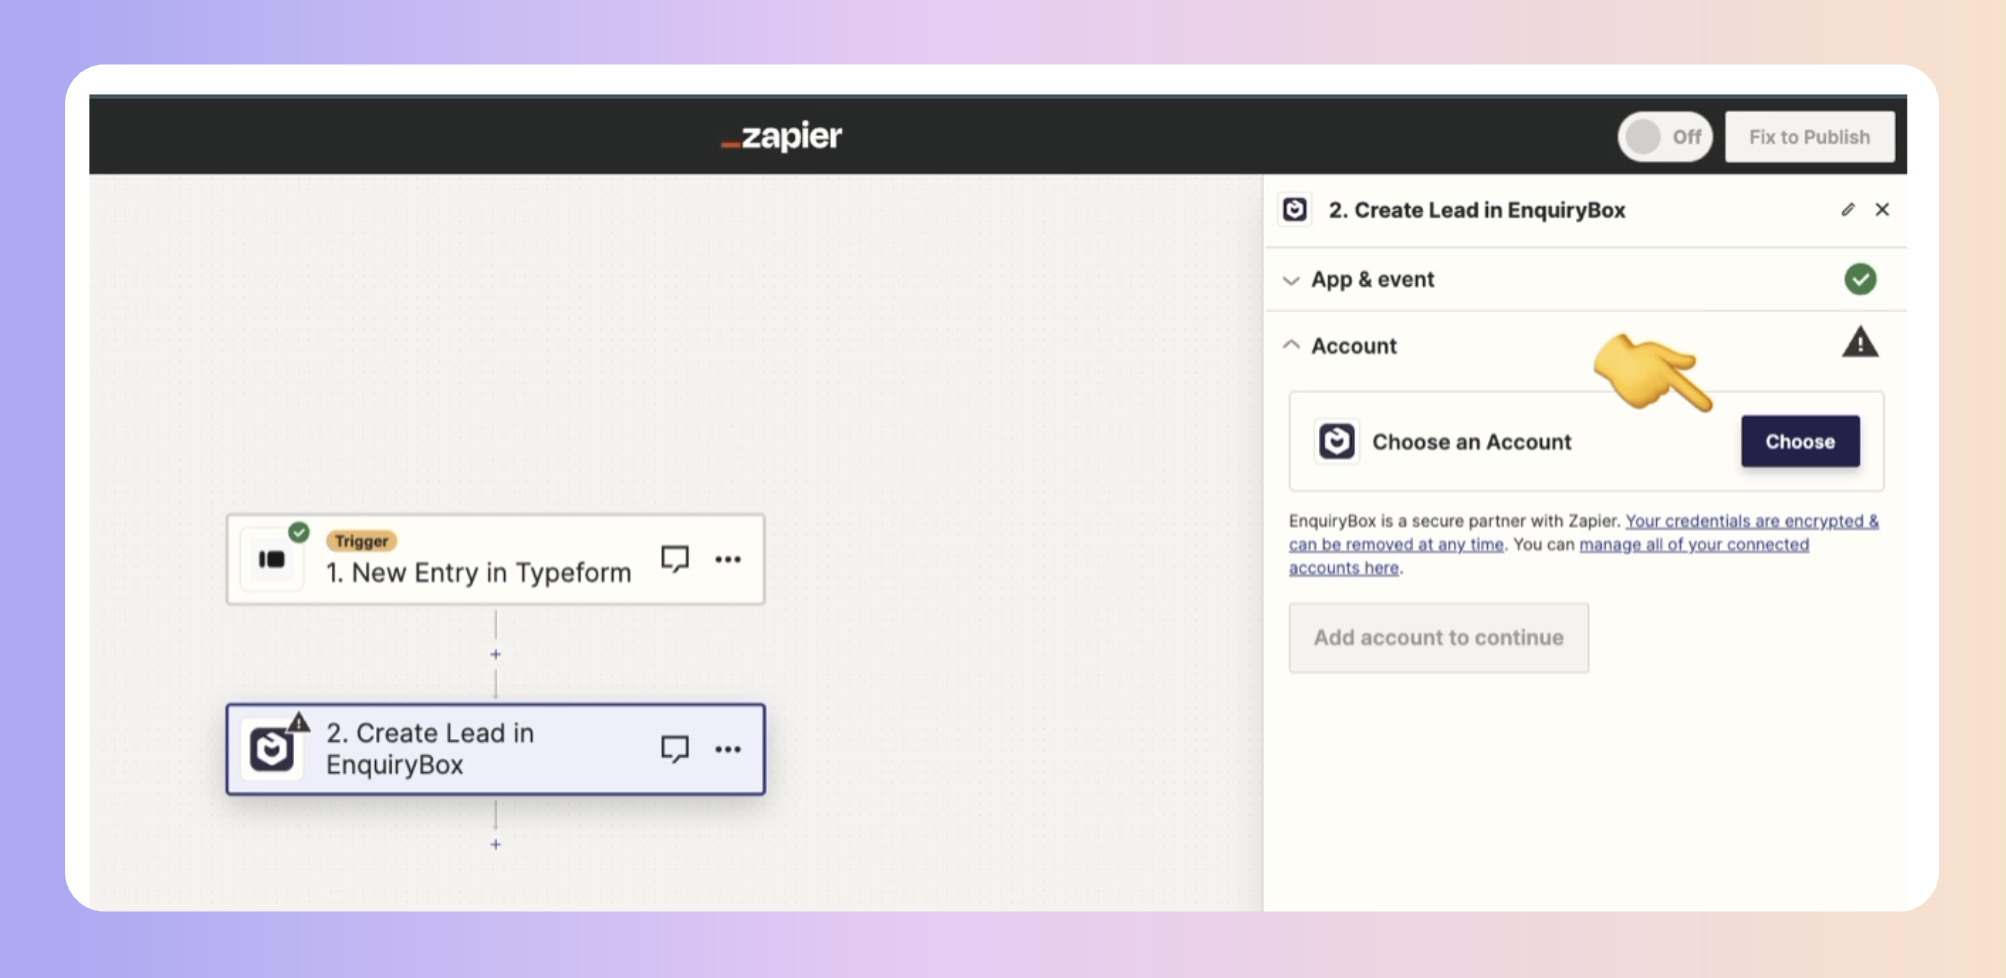
In the Action step, search for EnquiryBox (Boxly)
Choose the action Create Lead
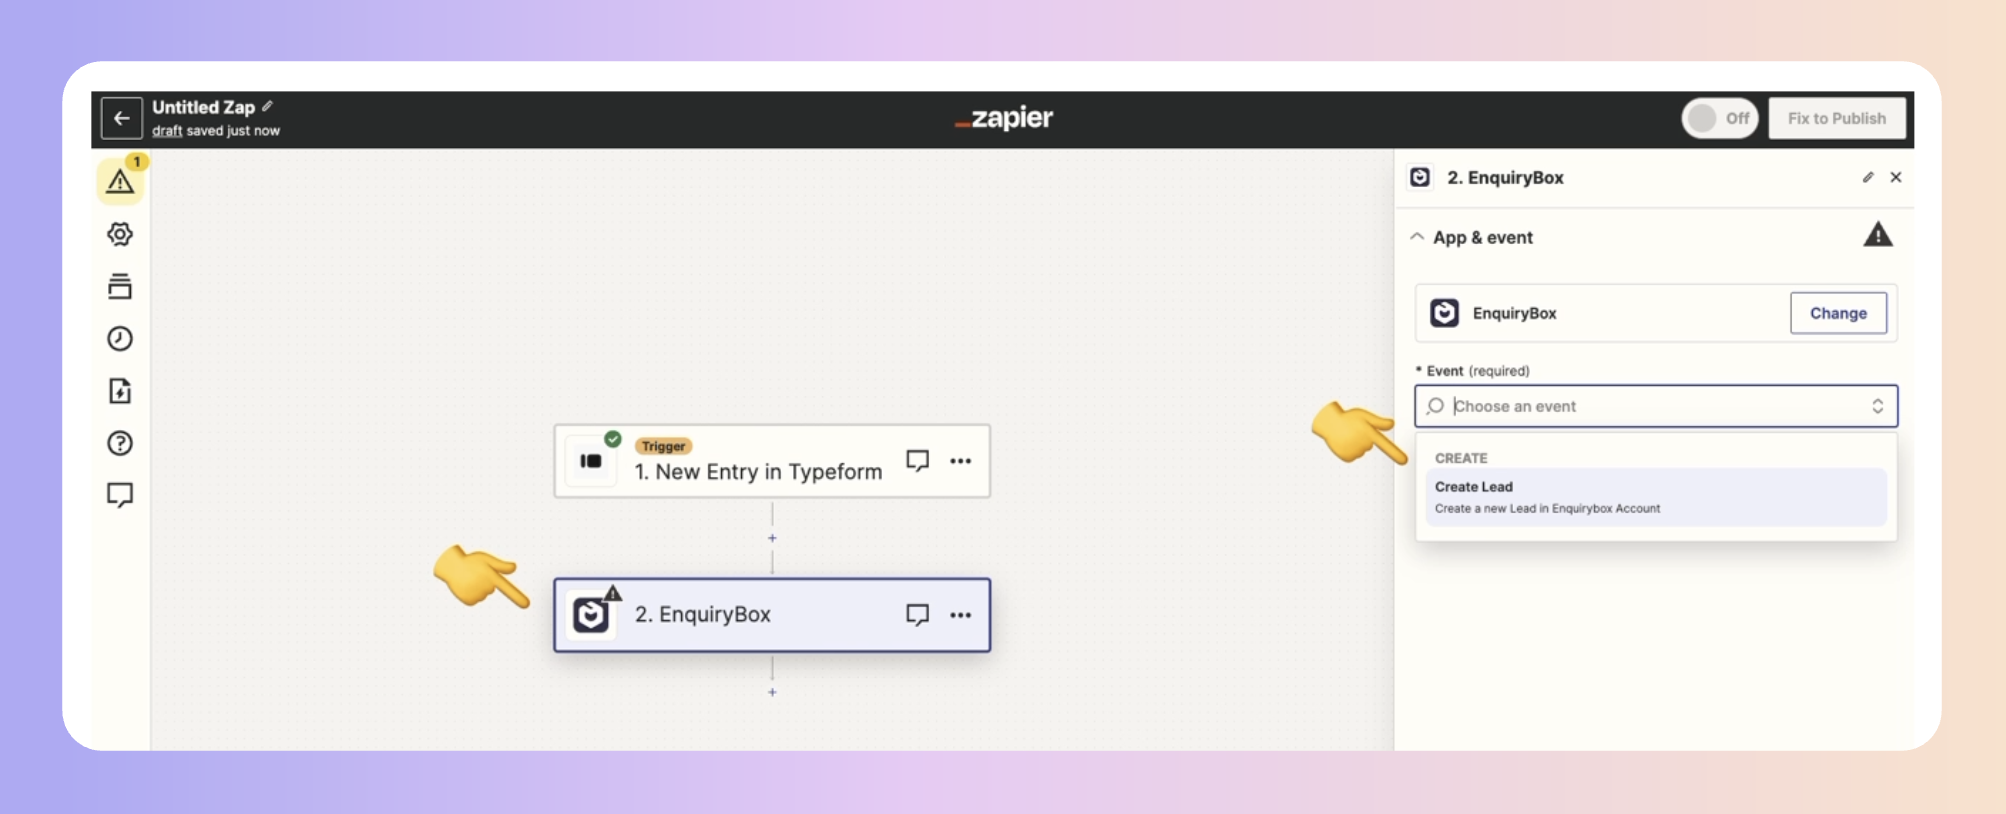
Click Continue
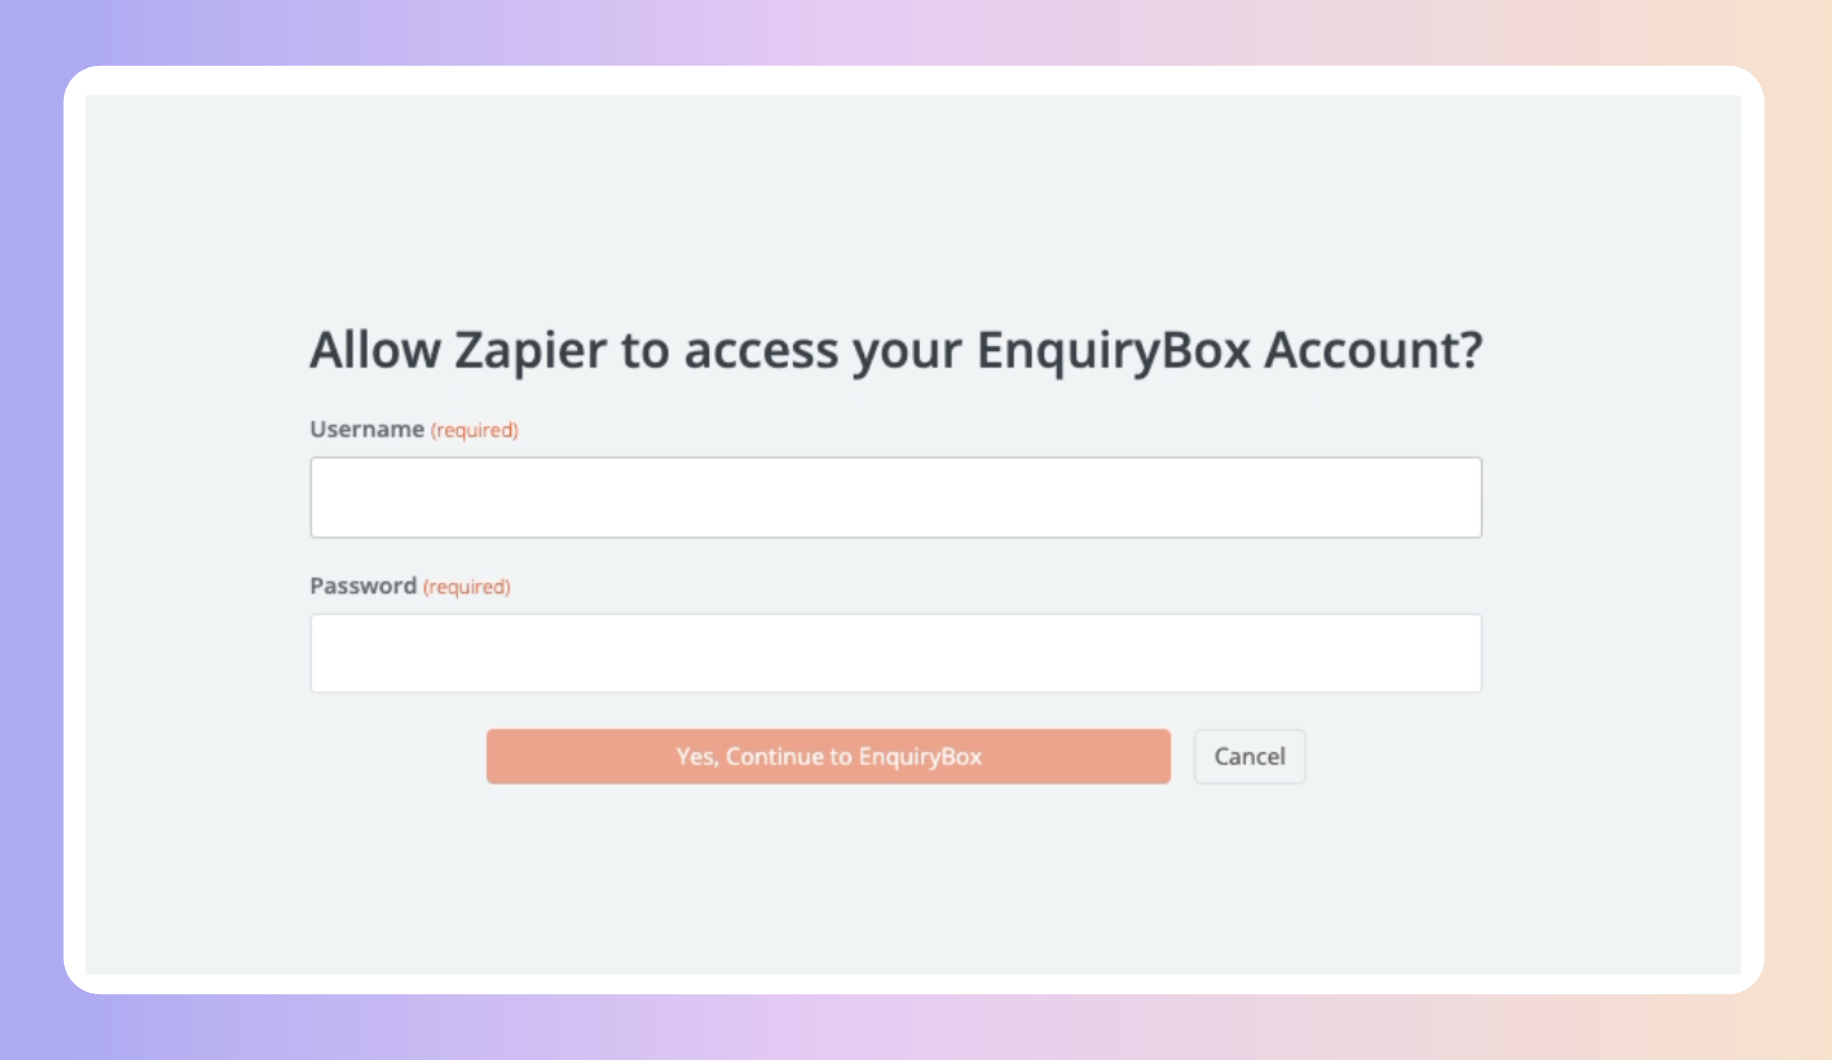
Sign in using your Boxly login email
The email must be in all lowercase letters
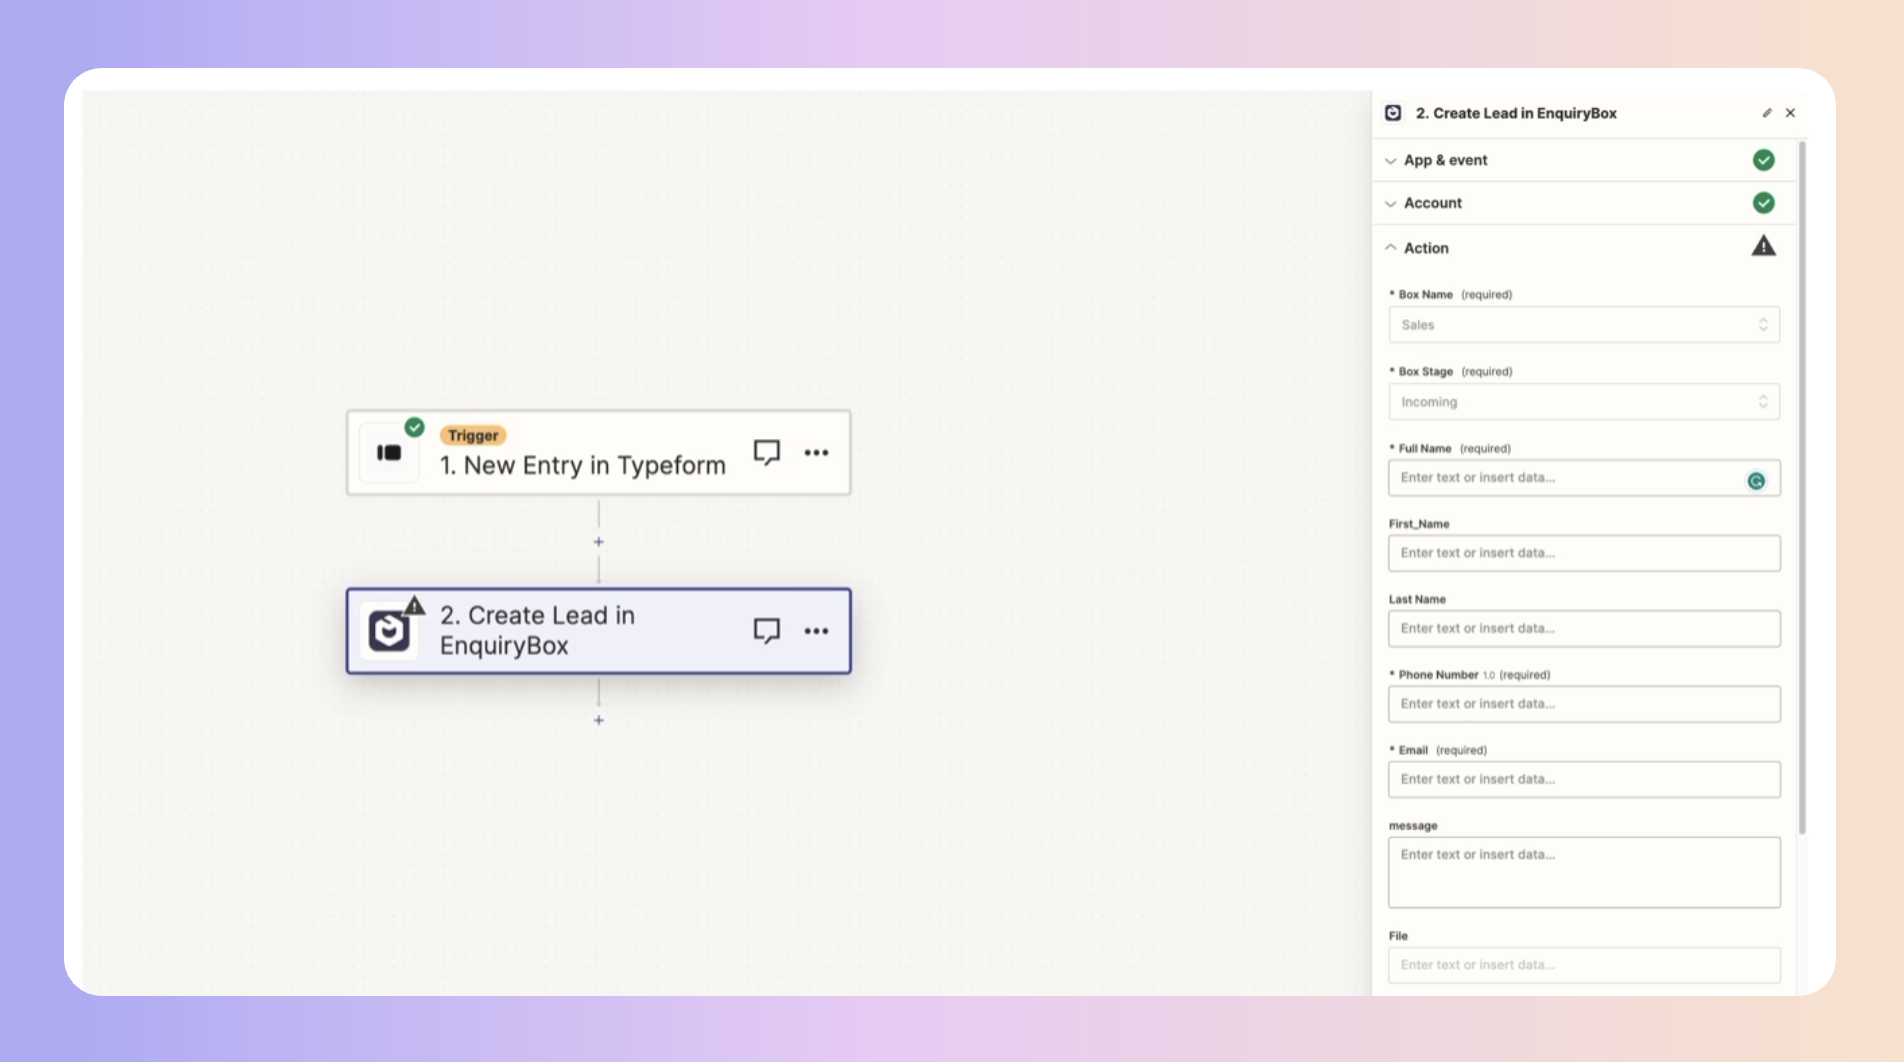
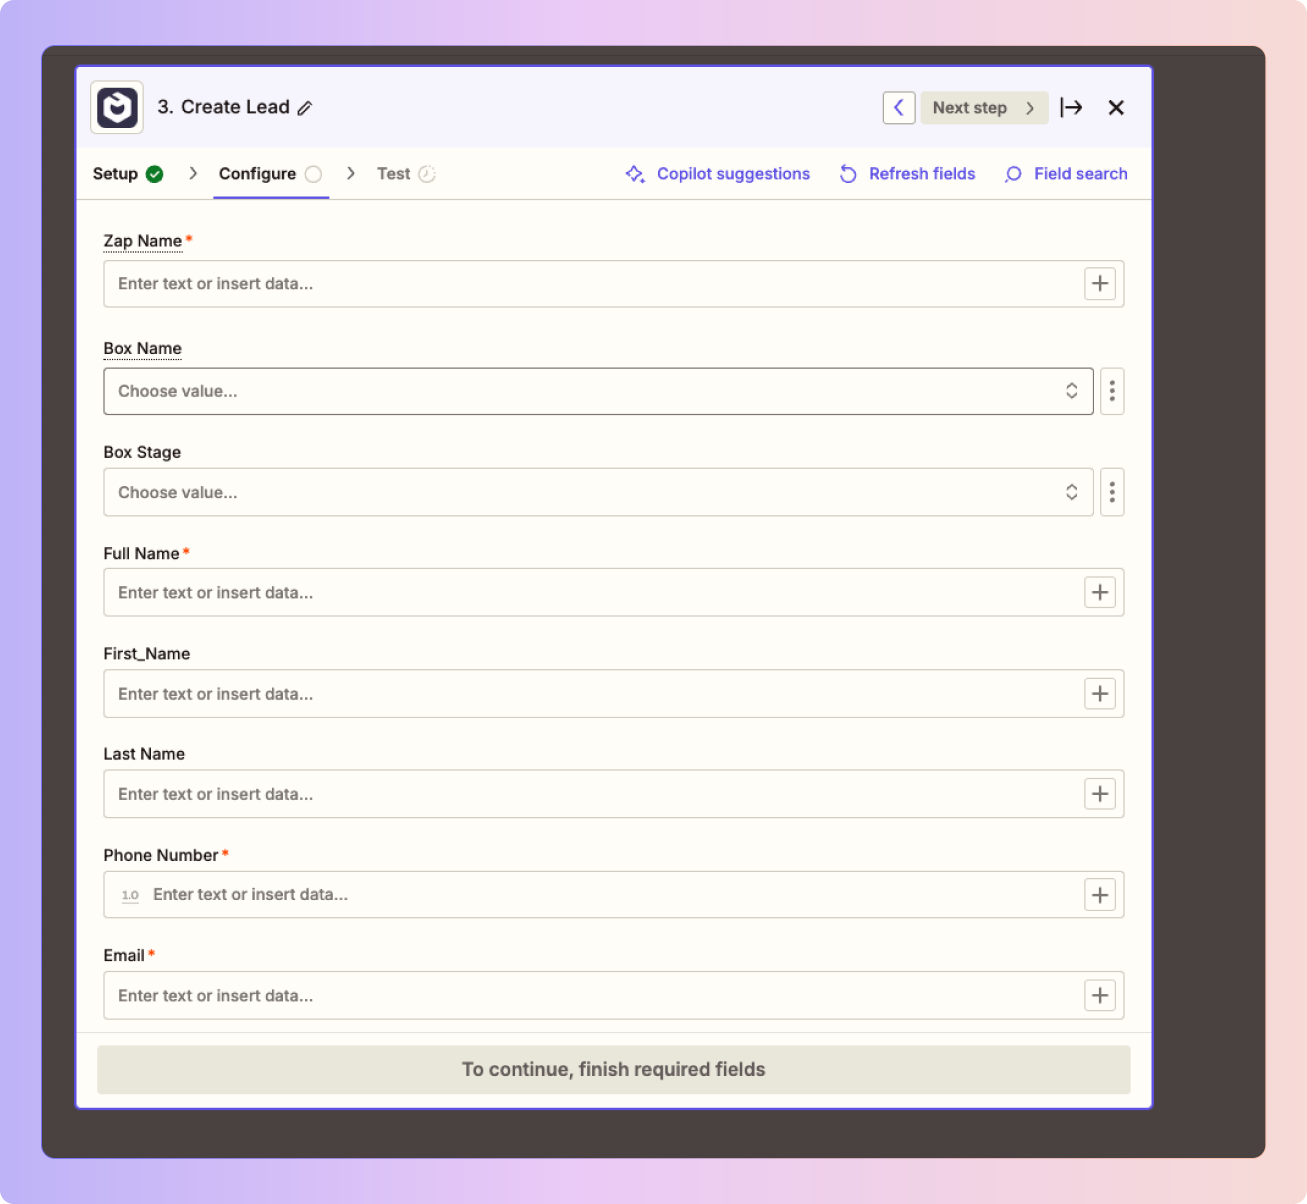
Once connected, you’ll see the form to map your lead data. Here's what each field means and how to use it:
Zap Name
This name will appear in the lead’s timeline in Boxly so you know which app created the lead
Example: “Webform – Invisalign Free Consult”
Box Name (optional)
Choose the specific box you want the lead to go into
Example: “Teeth Whitening” or “General Enquiries”
Leave it blank if you'd like Boxly’s AI to decide based on the message
Box Stage (optional)
If you know what the lead is about, pick the stage where the lead should be added
Example: “New Lead” or “Consultation Booked”
Leave it empty to let the AI choose the most relevant stage
Full Name, Phone Number, Email (required)
These are the minimum details required to create a lead in Boxly
Make sure you map these using your trigger app's data
First Name / Last Name (optional)
Use these if your form or tool collects names separately
Entry Point URL (optional but recommended)
Paste the link to the page or form where the lead submitted their details
This helps Boxly identify the source — whether it was from a landing page, ad, or your website
Custom Fields
You can map any question fields you've set up in Boxly (e.g. treatment type, budget, preferred date)
Treatment Labels / Tags
If you're using tags or labels (like "Invisalign", "Emergency", "Returning Patient"), you can include those here too
If you leave both the Box Name and Box Stage blank:
Boxly’s AI will read the message or mapped fields
The lead will be automatically routed to the right box and stage
This is ideal when you have multiple services, landing pages, or ad campaigns and want Boxly to organise leads for you
Click Continue
Test the action with your trigger data
Click Turn on Zap

New leads will appear instantly
Each lead includes the full mapped data (name, contact, message, etc.)
Accurate source tracking is visible using the Entry Point URL
The Zap name will appear in the lead’s history for easy identification