Ever wanted to reply to all your leads from a single business email address that is not linked to a user email in Boxly? With custom sender emails, you can! 
Here’s the Scoop:
Custom sender emails let you craft replies to leads from any email address you choose (provided, of course, you own it!), not just the ones linked to your Boxly account.
Why? Because sometimes, the best voice for the message isn’t your personal work email. It’s that special brand email you’ve polished to perfection.
Why reply from a custom sender email?
Consistency is Key: Keep your brand’s voice consistent across all communications. A custom sender email ensures that every reply feels like it's coming straight from your brand, not just any employee.
Flexibility: Want to send a campaign from "info@yourbrand.com" or offer support from "help@yourbrand.com"? Now you can, without juggling multiple accounts.
Professionalism: Impress leads right from their inbox with an email address that matches your brand. It's about showing you're serious about your business and their experience.
How to set one up:
Setting up a custom sender email in Boxly is a breeze.
After verifying your domain, follow these steps to set up your sender email:
 Navigate to Settings
In account settings, click on "Email"
Then Click on the Sender Emails tab
Then click "Add Sender Email"
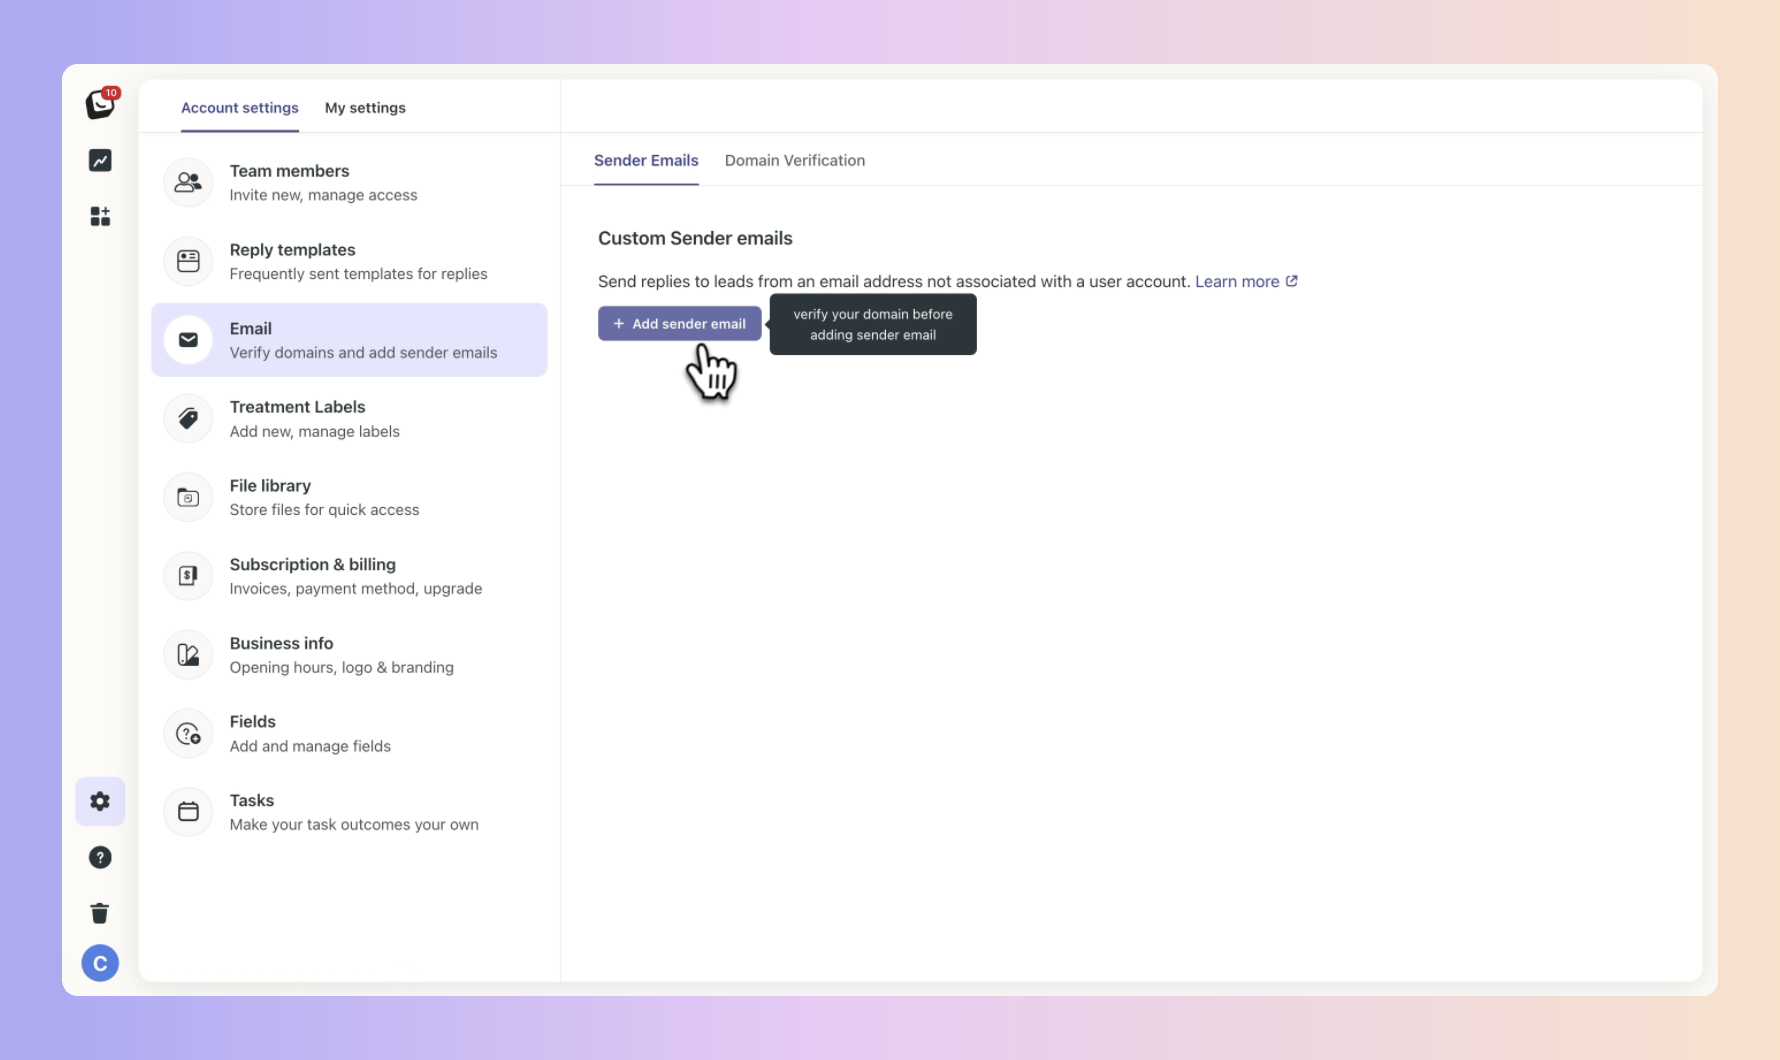
 Add the sender email address that you want to send replies to leads
You can only add 1 Sender email per account
The sender email must belong to the same domain you have verified. (Example: If you have verified www.mycompany.com, your sender email should be xyz@mycompany.com)
You cannot add a sender email unless your email address is verified.
The sender name is what your customers will see when you send emails from this specific email address.
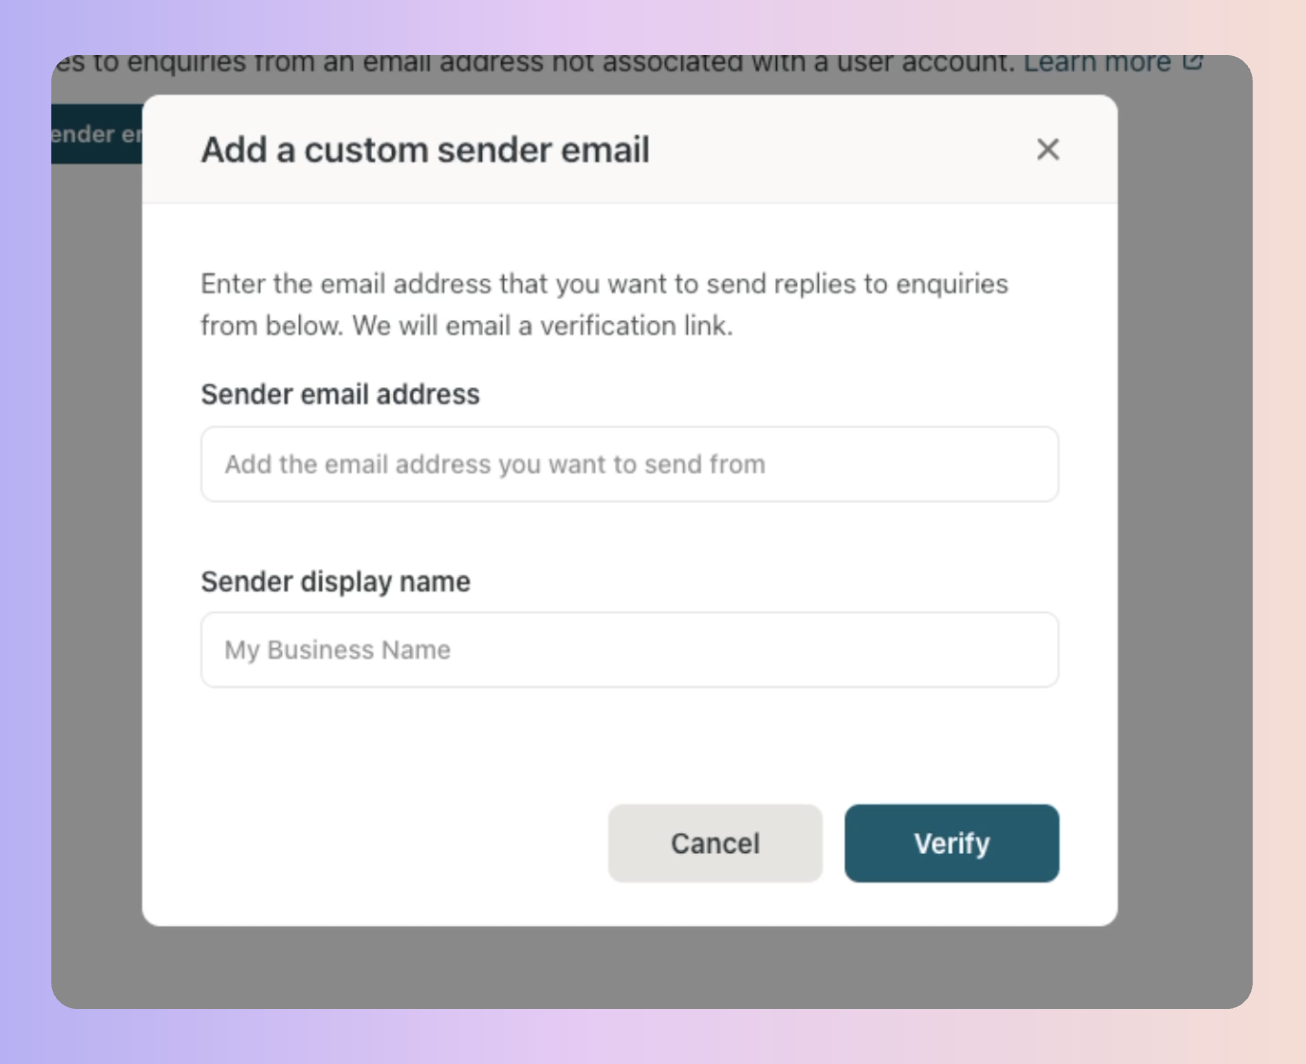
 A one-time password will be sent to the provided email for validation.
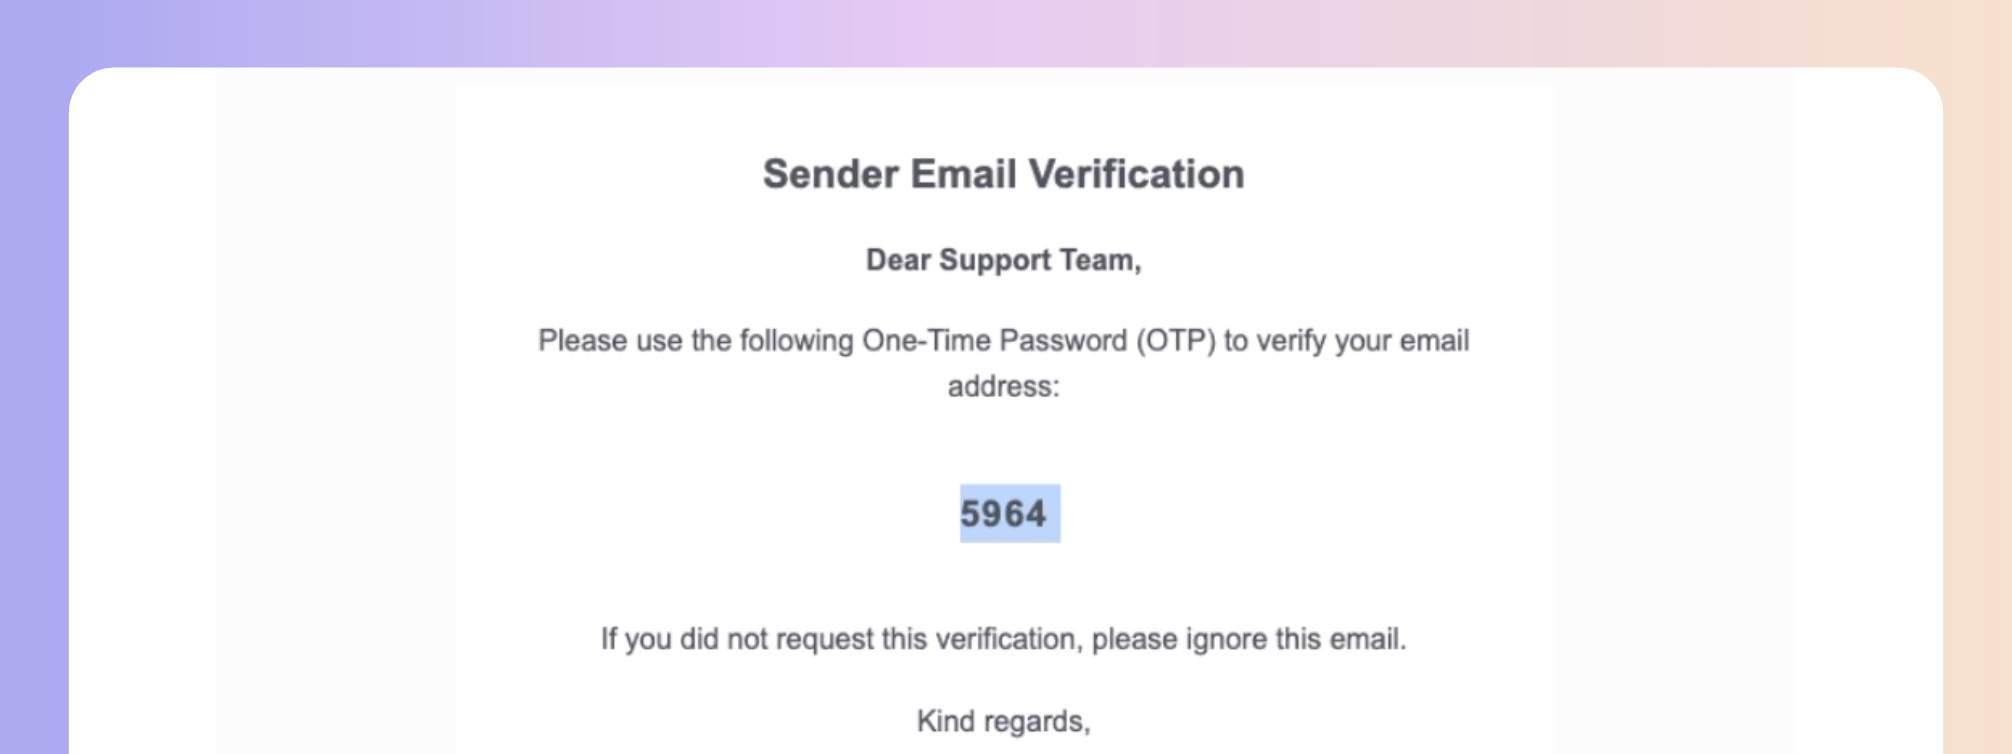
 Confirm the validity of the email by entering the one-time password.
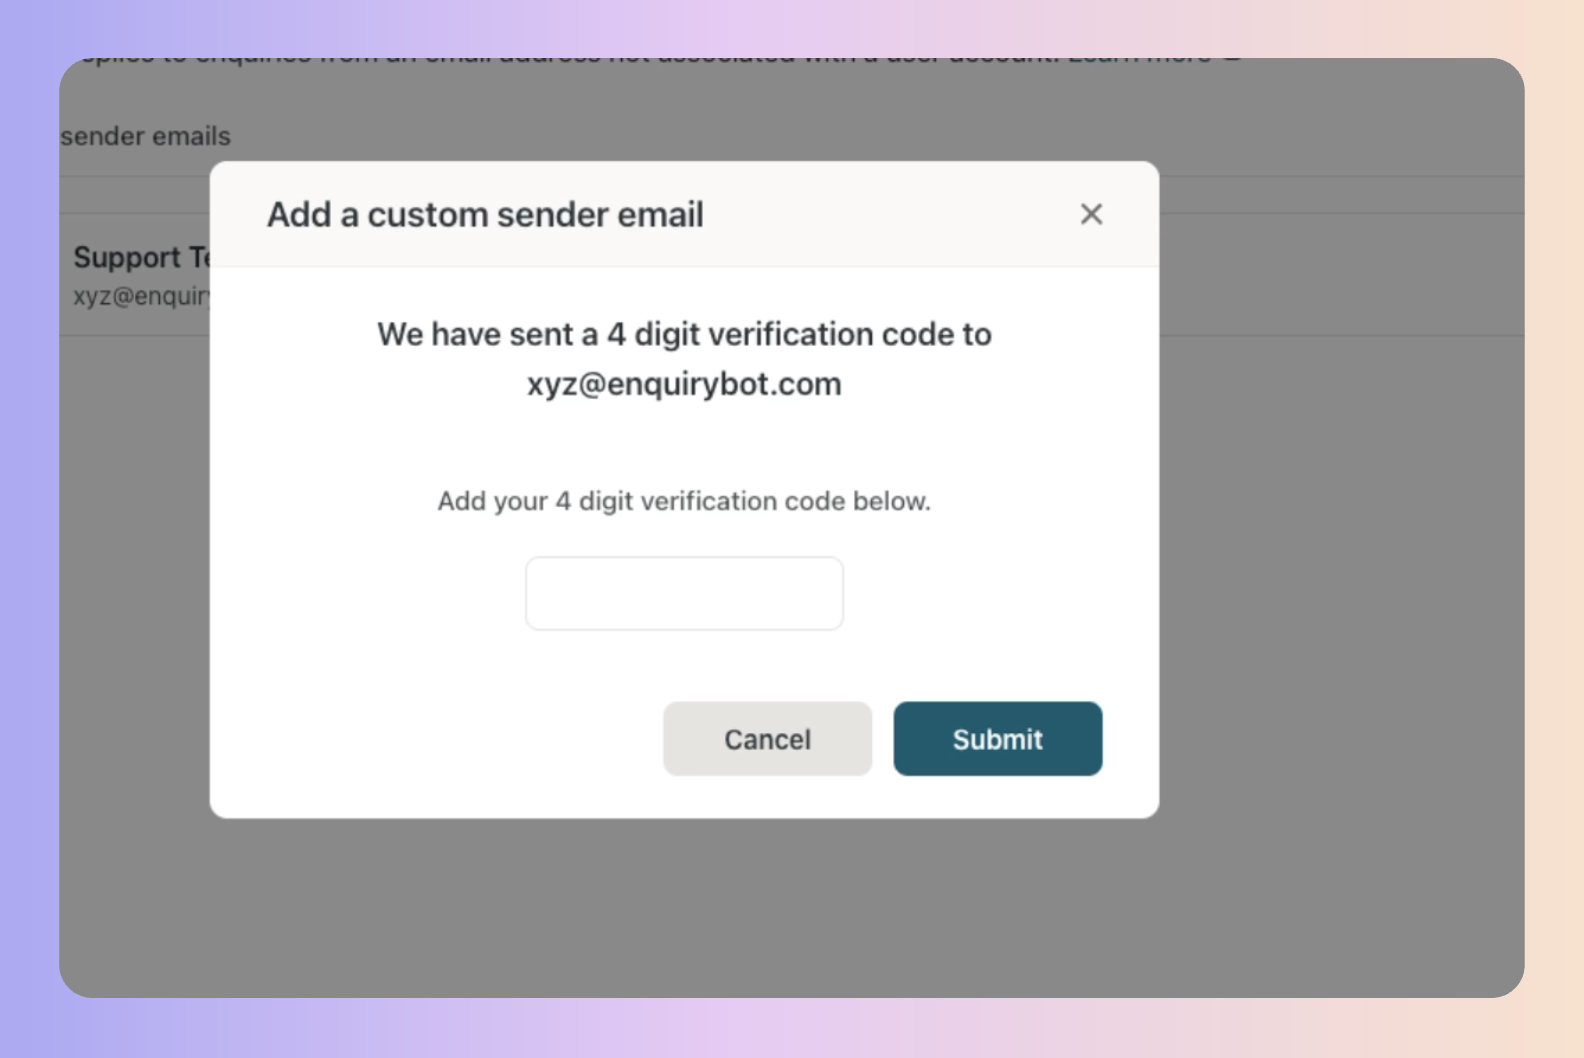
 Once confirmed, your sender email is verified and ready for use.
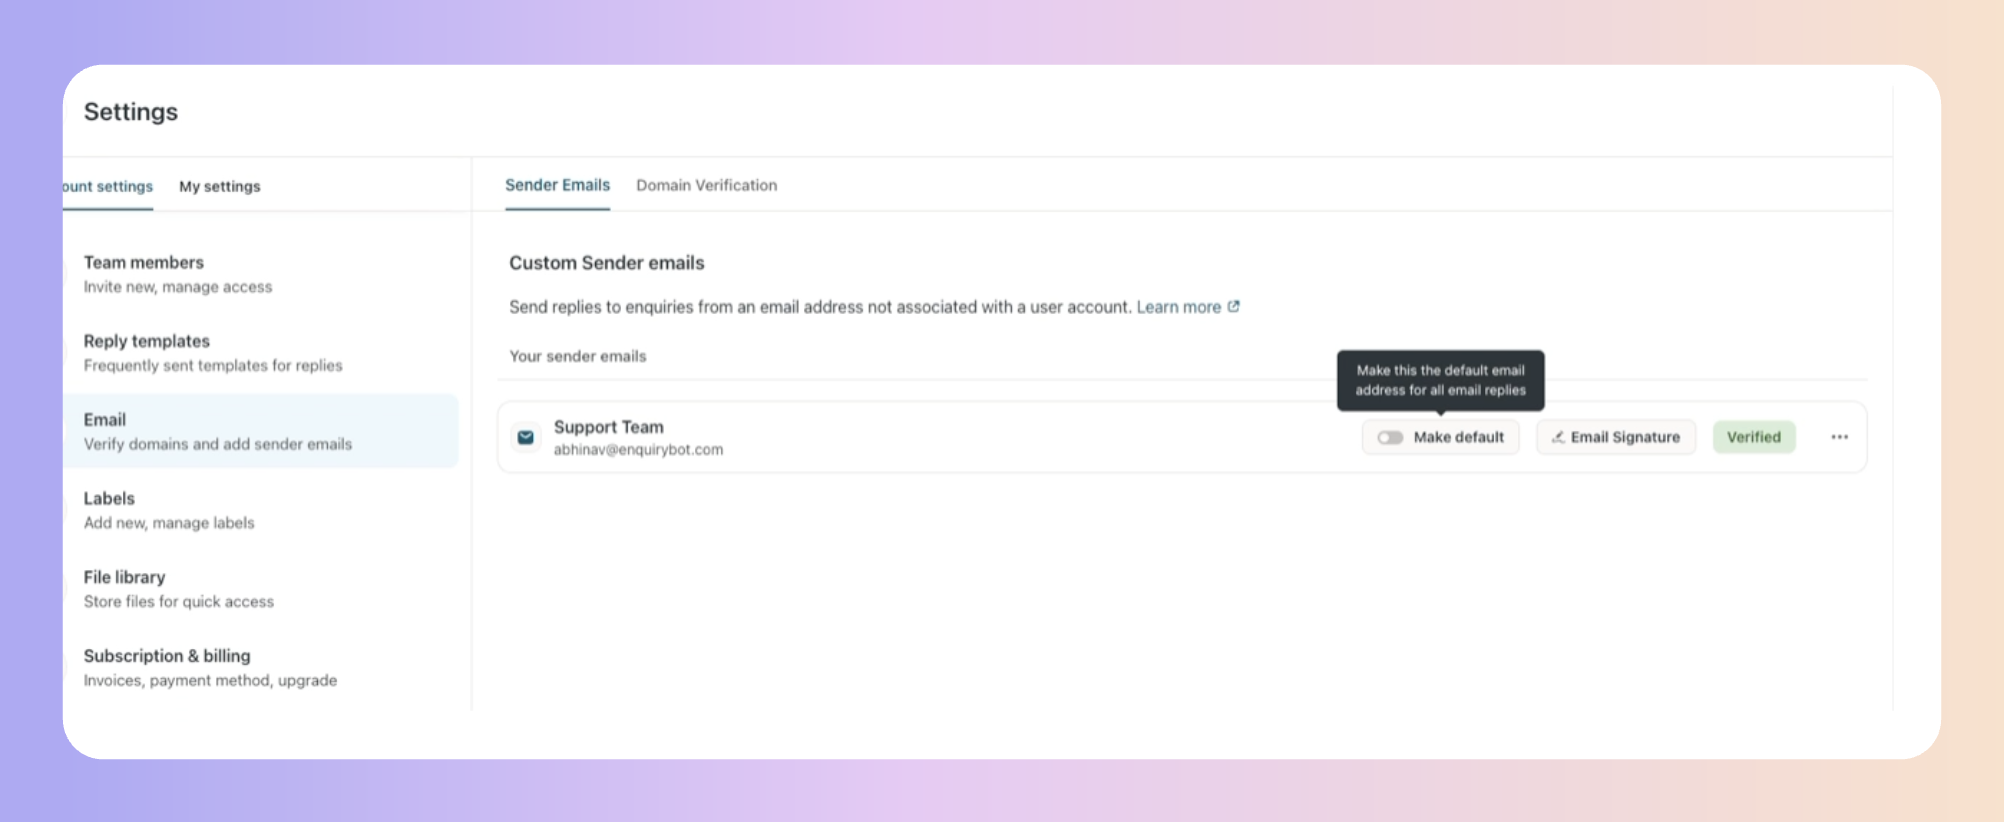
After adding the sender email, you can set it as the default reply address for your account for toggling on. This means that when responding to emails, the "sender email" will be automatically selected. Of course, you can change it if needed.
You have the option to create a unique signature for the designated sender
Please Note:
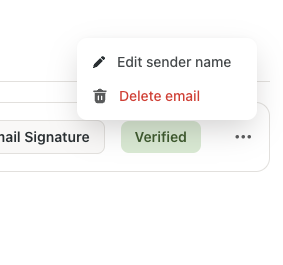
To customise the sender name, simply click on the three dots and choose the "Edit" option. The sender name is what your customers will see when you send emails from this specific email address. Alternatively, you can delete the existing sender email and replace it with a new one
