For those moments when simplification or reorganisation of your workspace is necessary, Boxly provides the flexibility to delete any box, with the exception of the "General Box." This feature ensures your workspace remains uncluttered and aligned with your current requirements.
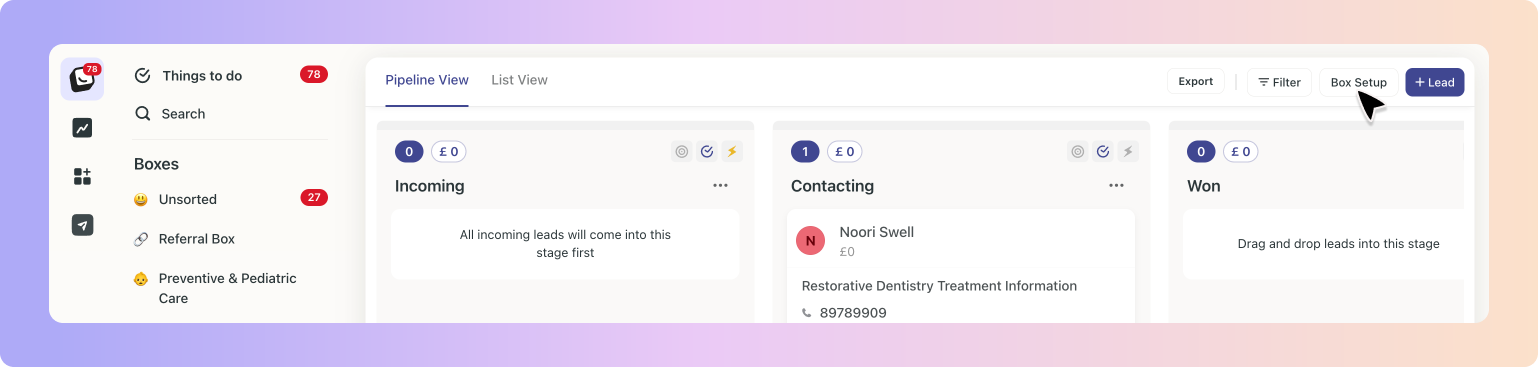
✅ Identify the Box: Navigate to the Box Setup of the Box you wish to remove. You'll find this option next to the + Lead button on the top-right of your screen.
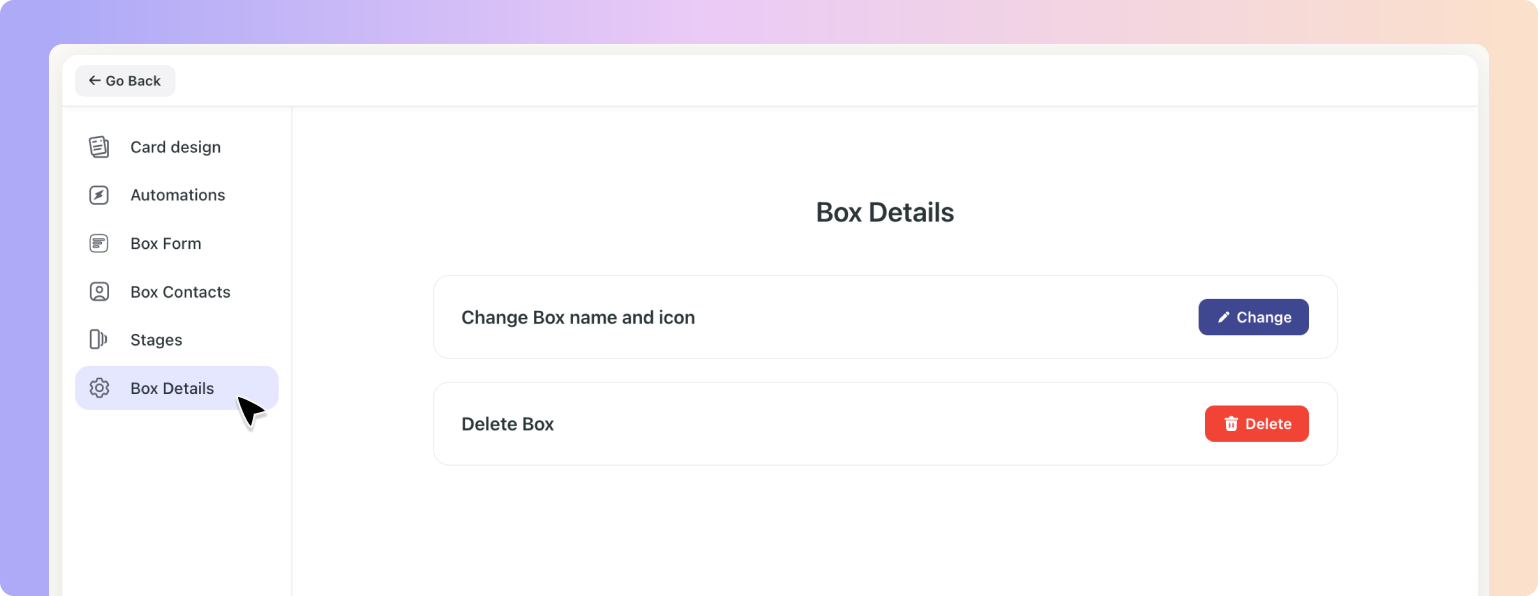
✅ Select to Delete: Within the Box Setup menu, look for the "Box Details" tab. Here, you'll be presented with the choice to delete the selected box. Click on the red “Delete” button.
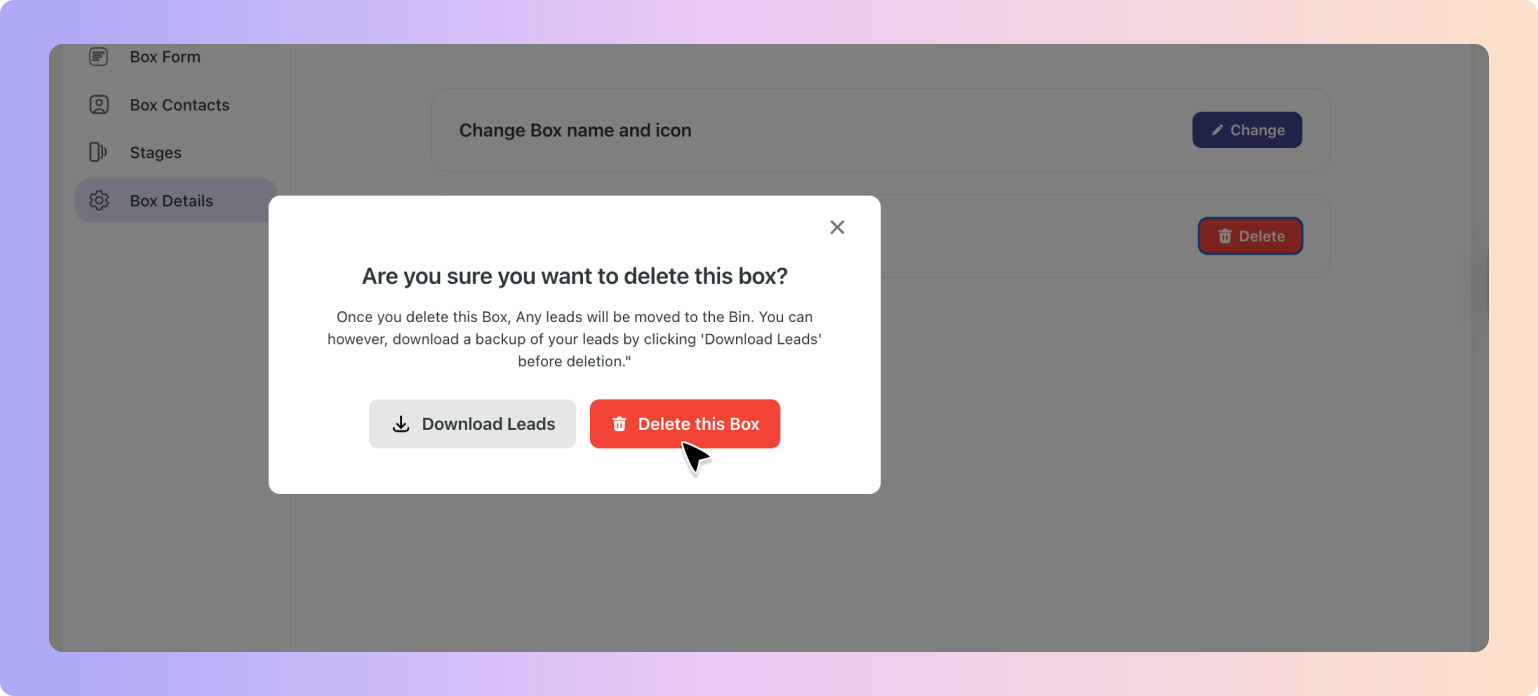
✅ Confirm Deletion: Proceed by clicking on the "Delete this Box" button to remove the box from your workspace.
Important Notes:
Admin Rights Required: It's important to remember that the ability to delete Boxes is exclusively available to team admins. Should you require a Box to be deleted and you do not possess admin rights, please reach out to your team's admin for assistance.
Pre-Deletion Preparation: A box must be without any leads before it can be successfully deleted. If your selected box contains leads, a prompt will appear offering two options:
1. Download Leads: You can choose to download the leads, which will then be sent to your email for safekeeping.
2. Move to Bin: Alternatively, selecting "Delete this box" will transfer all contained leads to the bin, from where they can be restored at a later date if necessary.
This deletion feature is crafted to ensure that your Boxly workspace remains optimally organised, allowing for the efficient management of customer interactions while adapting to the evolving needs of your business.